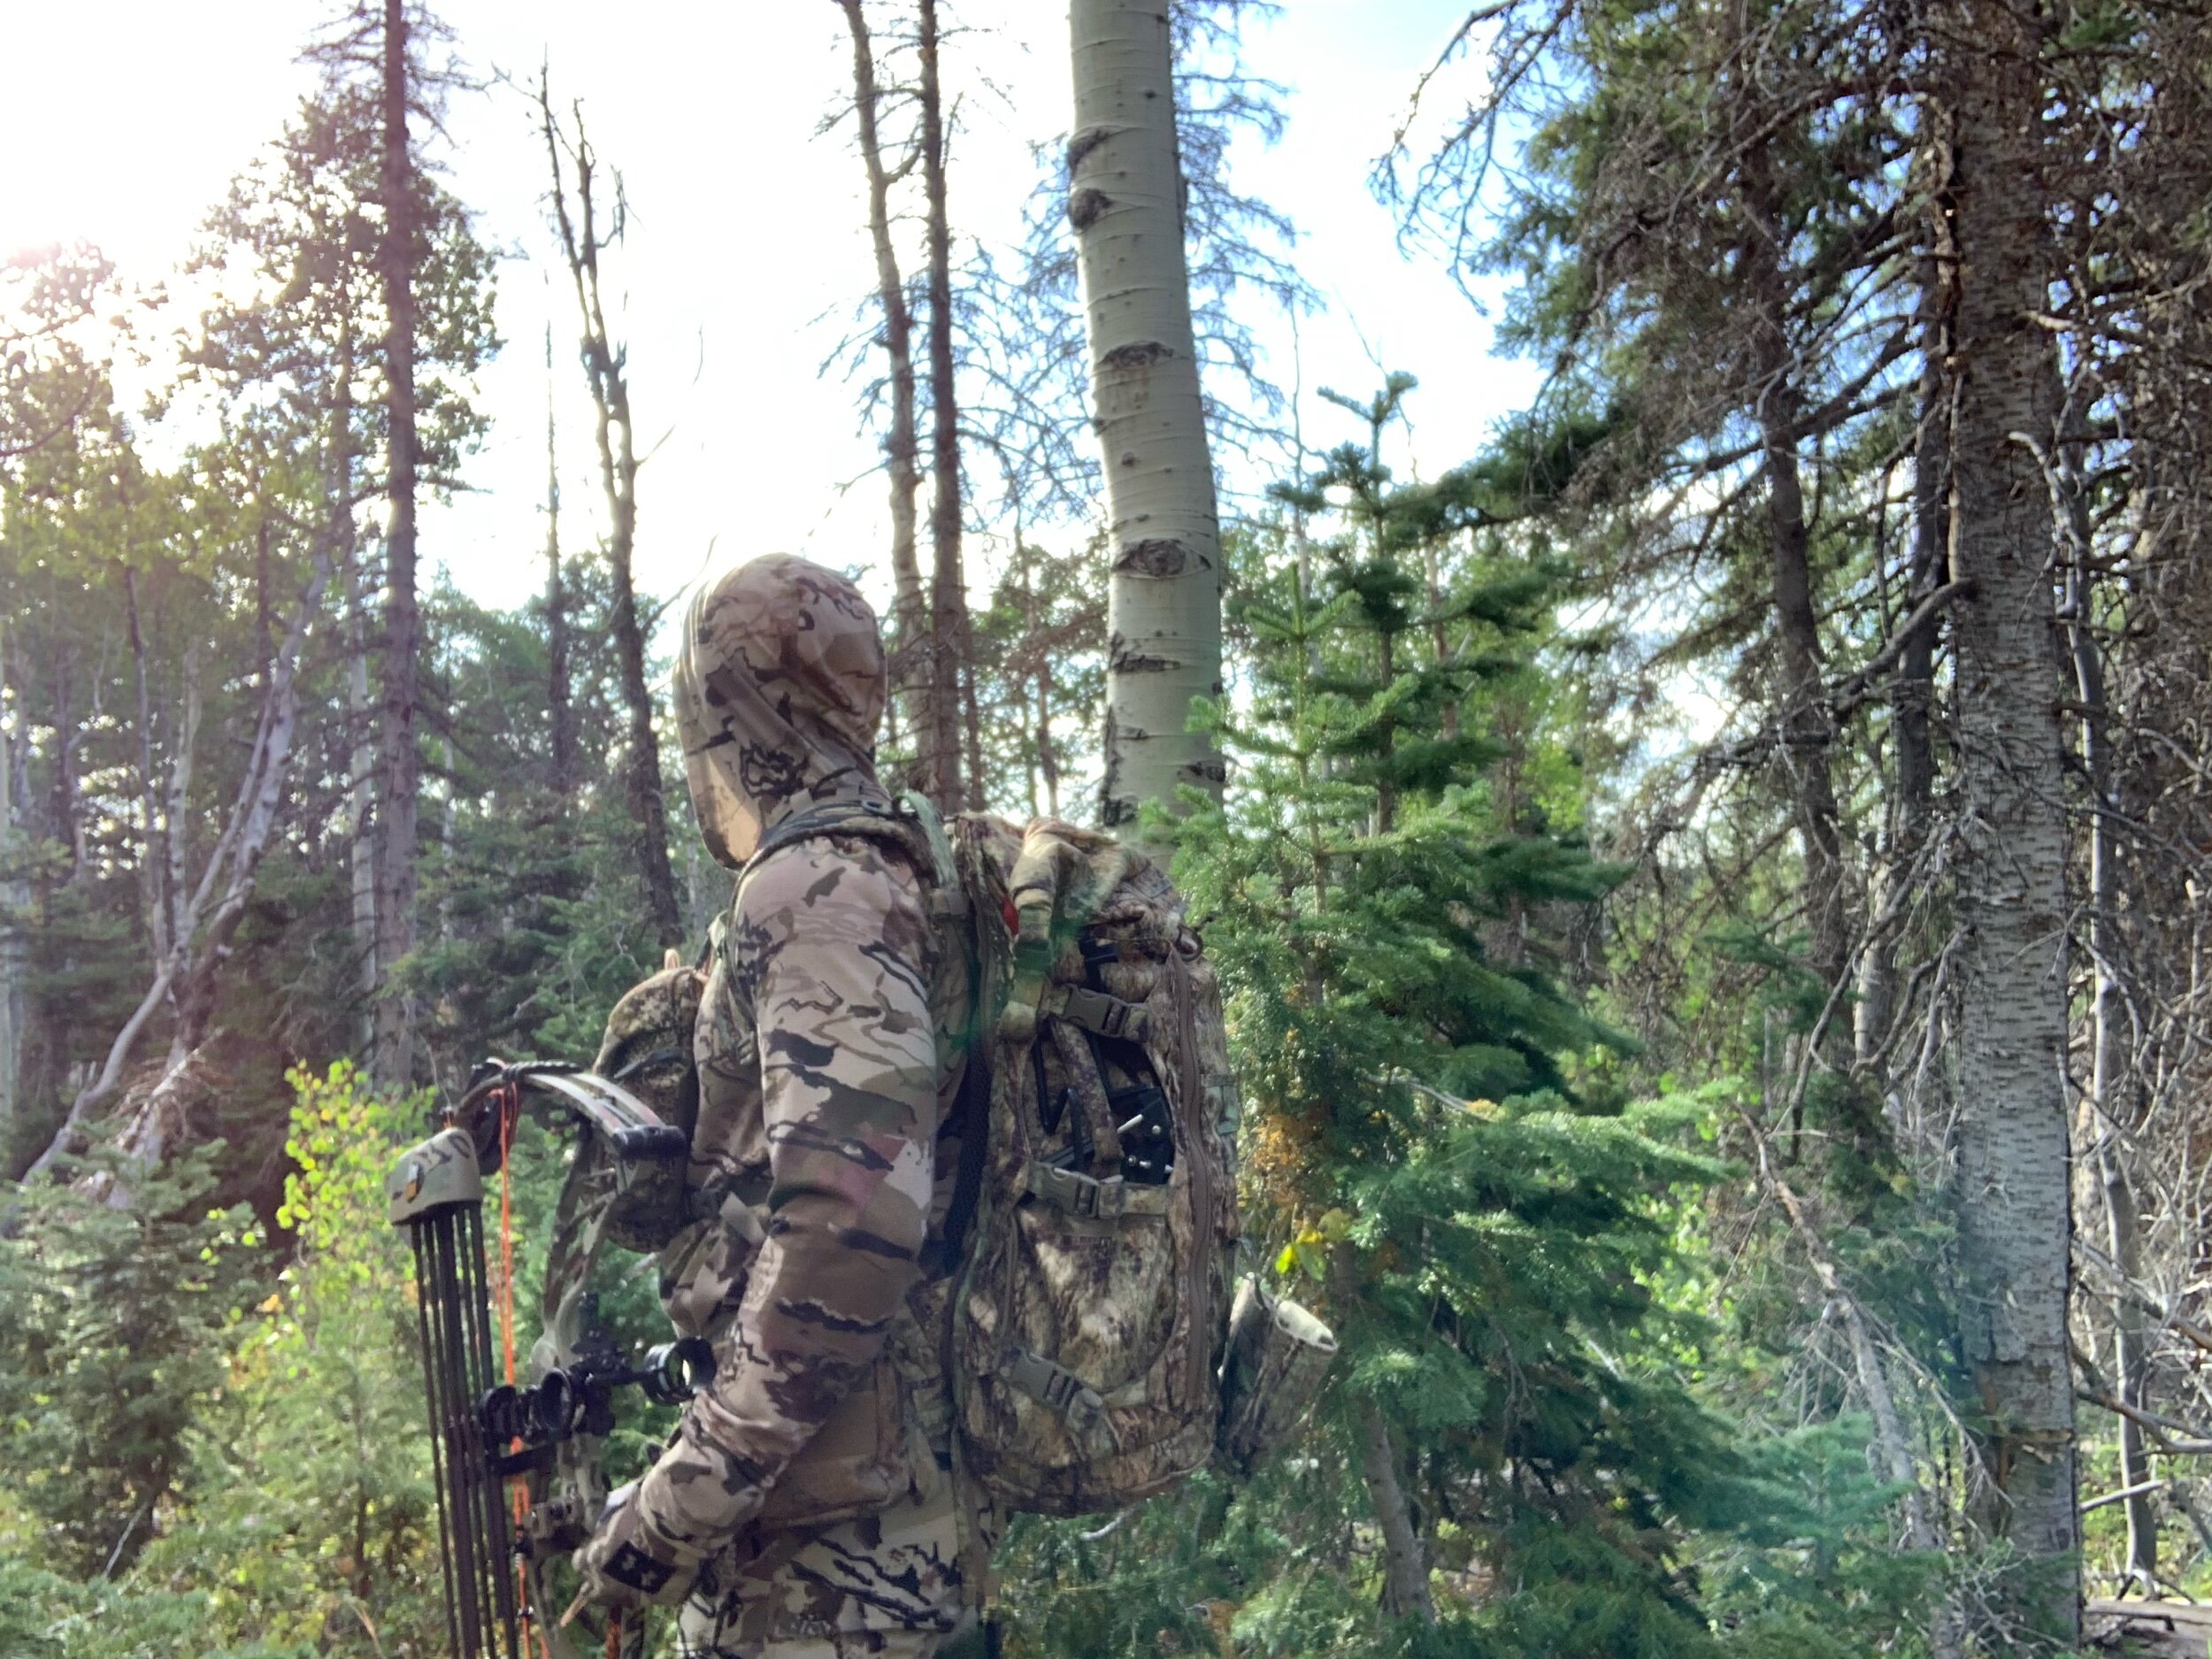
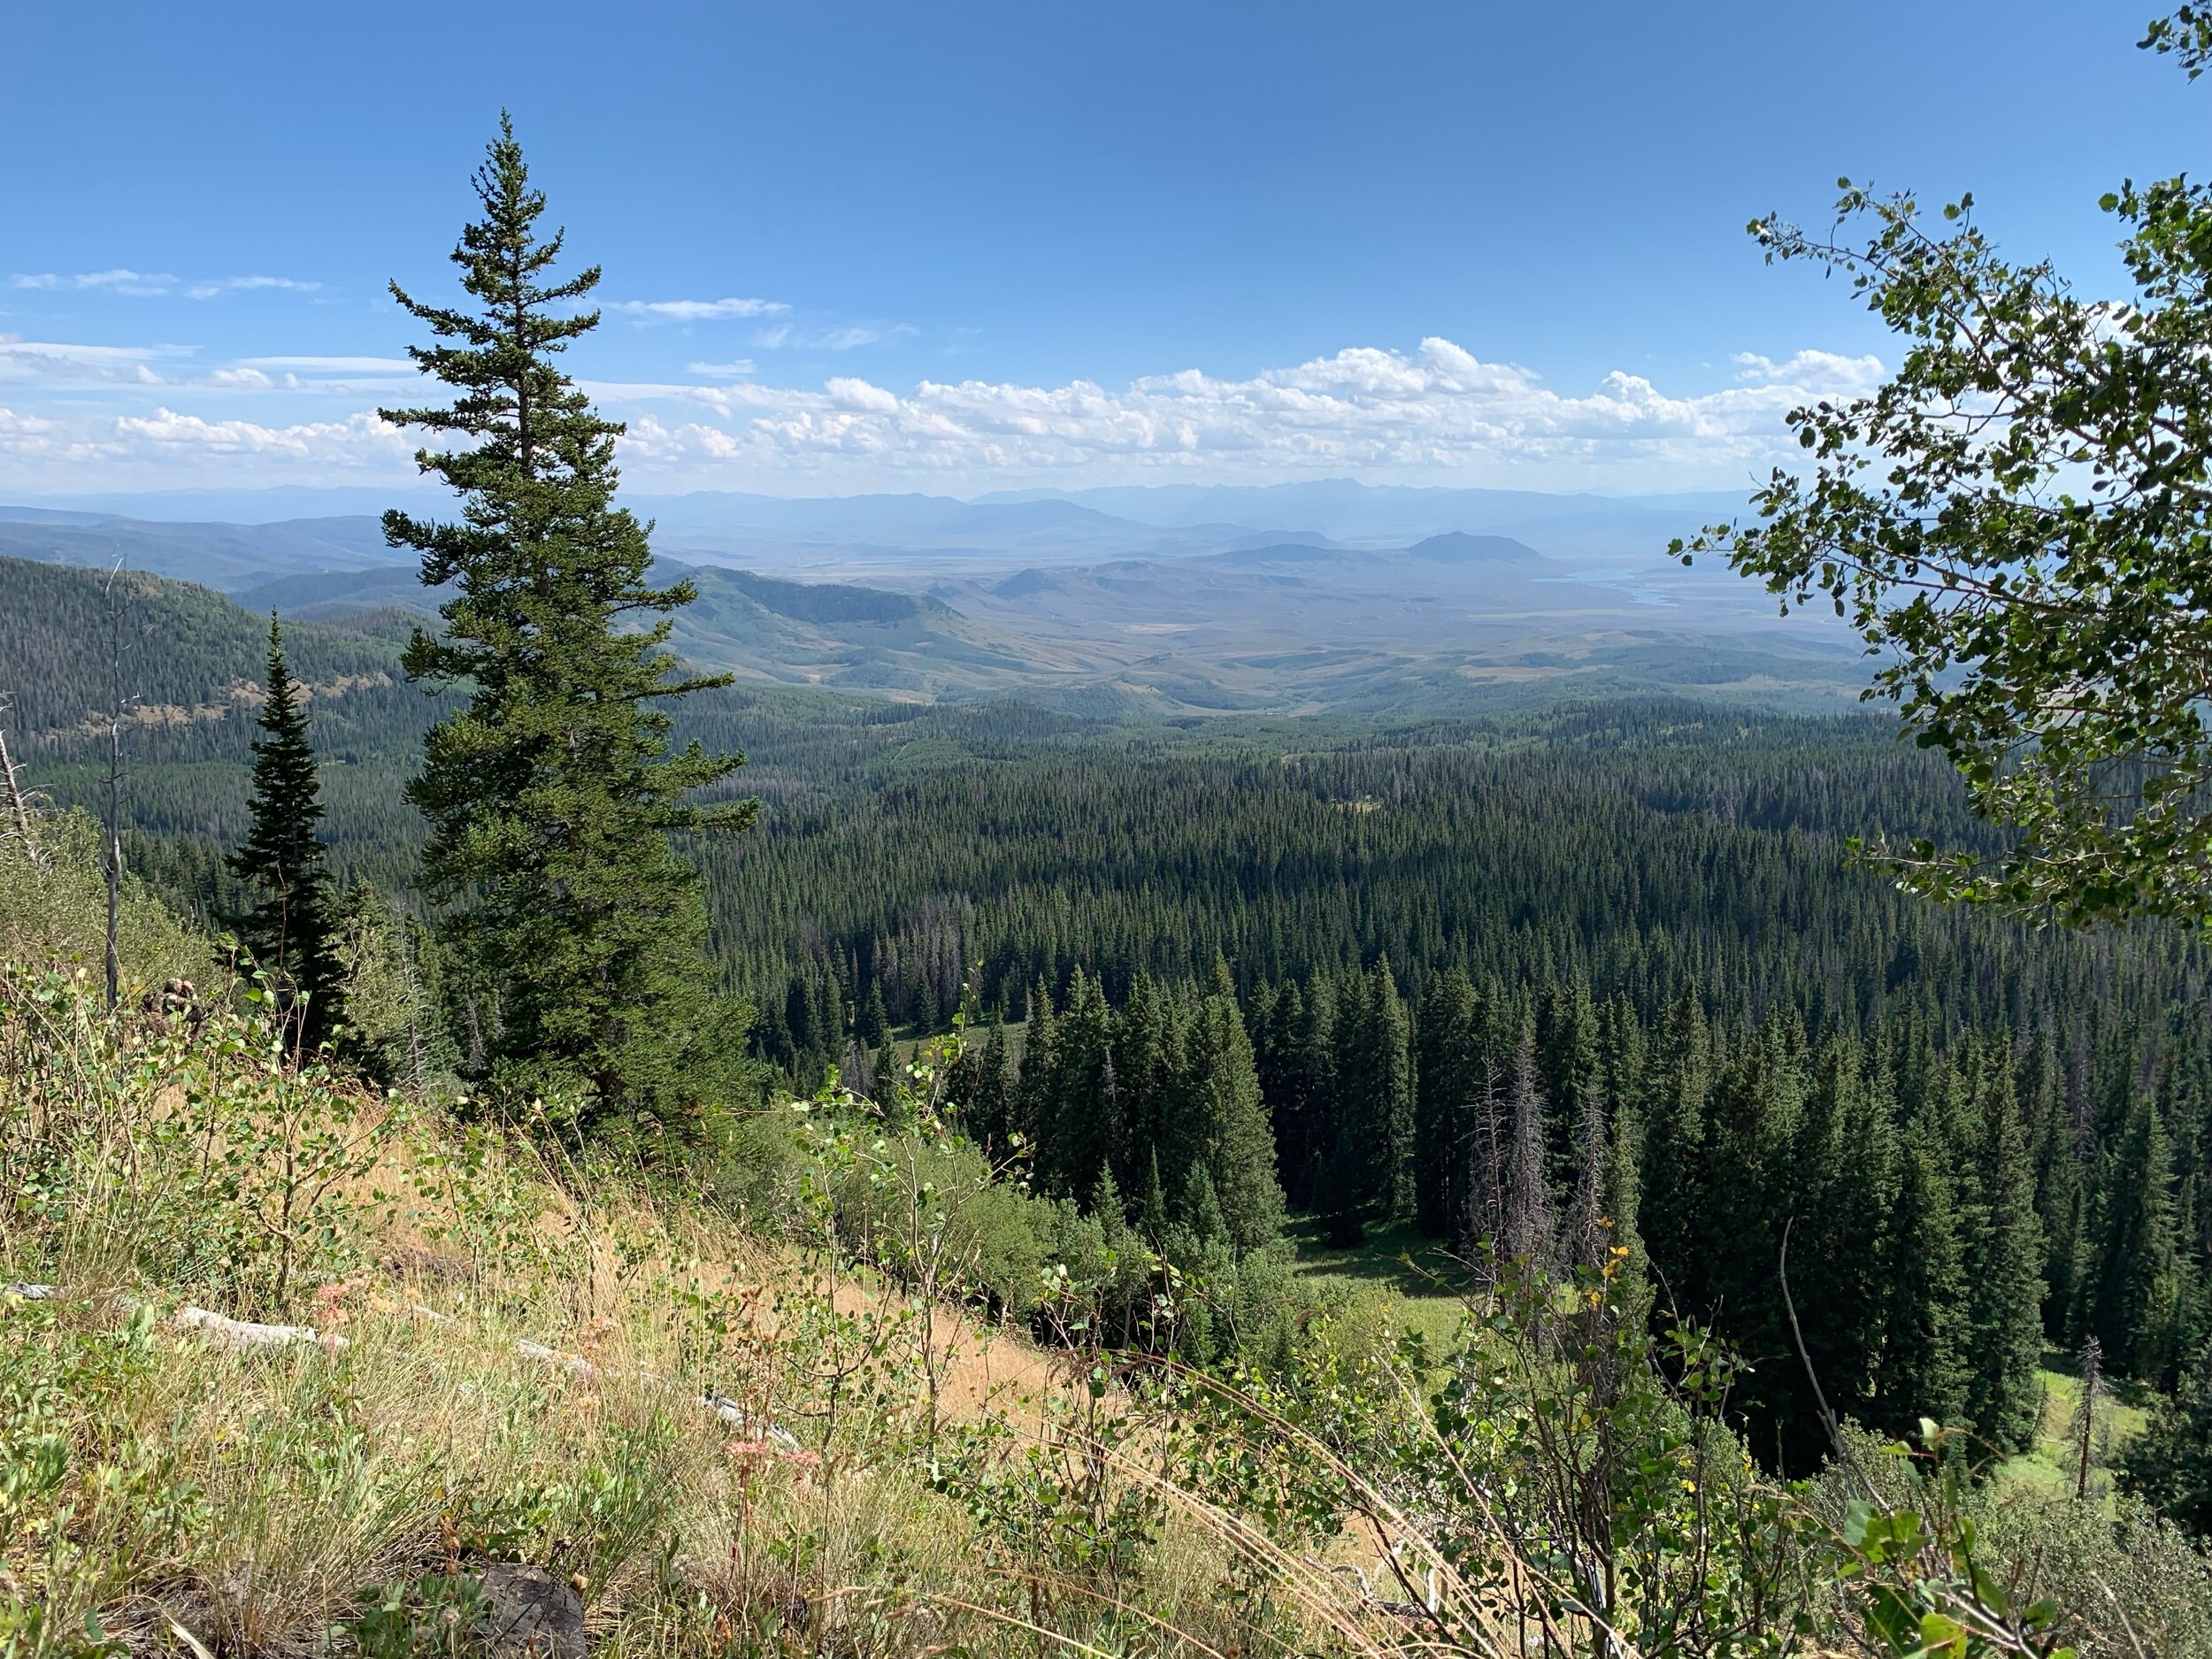
You’re hiking up the face of an aspen covered mountainside, wind blowing in your face, shadows of early morning still long and looming. Upon reaching a small meadow you catch movement on the far side of the clearing. A 6x6 bull elk is feeding on the edge, unaware of your presence. Adrenaline surges through your veins as you ready an arrow in preparation for the shot. Full draw comes and goes like a
black cloud, a flash of tan disappears into the distant timber as you see your arrow stuck in the ground, devoid of blood. What happened? If you’ve spent any amount of time bowhunting, you can relate to those moment at full draw when everything seems to leave your mind and instinct takes over, often leaving no
room for mental aptitude or memory retention. Back to the drawing board.
As the season comes and goes, you’re faced with another long offseason to reflect on what could’ve been. In your practice sessions you notice that holding your pin in the middle is not always easy, any wind and you find yourself being blown completely off target. It becomes clear that the 3” long rubber dampener on the front of your bow is not helping you. Enter the stabilizer conversation. For the context of this article, we will be discussing hunting applications only.
Bow stabilization is one, if not THE most underutilized elements to improving
accuracy. Without changing the tune of your bow or your point of impact, it is the one true “plug and play” piece of equipment to help you hit in the middle more often. Where to start? We know that target archers have crazy long
stabilizers on their bows, and frankly, that just won’t work in the woods. However, venturing away from the tiny rubber “stabilizers” of the 90s and 00s you will find a variety of practical lengths that are perfectly at home in the wild places we love so much.
The best starting point is to grab your bow, with no stabilizer, using perfect grip
technique, and watch what it does when
you loosen your grip. Its going to either tip forward or backward naturally based on the design of the riser and limbs. Let’s take my bow for example, a Hoyt Carbon Defiant 30. When I have no stabilizers, the bow naturally wants to
tip back towards me. This isn’t ideal for the most efficient follow through and pin float. As I add a front stabilizer, with the proper amount of weight (we’ll address that later) it remains level as I relax my grip. Perfect. A slow,
gradual forward lean is also ideal. Now, what length bar gets us to this perfect balance point?
The best advice I can give is to get the longest bar you can comfortably hunt with. Different hunts require different lengths, but we can
always find a middle ground if your hunting terrain changes throughout the seasons. A 15” bar is right at home in the high country, and out on the open plains, but may be too cumbersome to maneuver into position on a cruising buck from a tree stand. Remember, the longer the stabilizer, the better the balance.
You don’t see tightrope walkers holding 3-foot-long sticks to help them balance. Longer lever, better balance, slower pin float. Another advantage to a longer bar is the ability to run less weight. One of my favorite quotes about
the backcountry is “pounds are pain”. You want the lightest setup possible.
Figuring out how much weight to run on the end of your bar often seems like putting on a blindfold and throwing darts at the board, but
there’s certainly a system that can be followed to find your recipe. Start with one ounce, do your grip test, does the bow achieve the desired result? If so, you’re done, if not, add another ounce. Once your bow performs the neutral or
slow forward lean its time to shoot some arrows. Get to a distance that is near the far end of your max range, 40-60 yards is a good starting point. Come to full draw, and get your pin in the center of the dot. Does it hold steady or
move erratically? If the latter is the case, add weight until the movement slows. This may be one to six more ounces of weight! You know you’ve overdone it when 1, your pin begins to drop out the bottom of the dot, and 2, when your front shoulder begins to rise at full draw. Once you’ve found the sweet spot,
make sure that your grip test results are still desirable. If the bow leans forward too rapidly, you have two options, get a shorter bar or add a back bar.
A back or side bar as it is often referred to can take your game to the next level. One of the biggest benefits is having the ability to make your sight bubble “self-level”. If you’ve spent time shooting on side hills or steep up or downhill shots it seems that your bow feels level, but then you check your bubble only to find it smashed all the way to one side! A
back bar can be set up to make balancing your bow in the lateral plane much easier, especially with a quiver full of arrows. Offset brackets make mounting and adjusting your back bar much more customizable than if your riser has a
straight rear mount. Choose one that has 1-2 planes or directions of adjustability. Let’s go back to our front and back plane from the above paragraph first. Start with your offset bracket pointing your back bar straight back, parallel with the front bar. Choose a length that is comfortable to carry and maneuver, I like one that is 1-3” shorter than my front bar. Begin adding weight until your bow achieves the
neutral or slow forward balance from our grip test. Now let’s move to the lateral plane. To start, attach your quiver, fill it with one less arrow than it will fit (you’re going to be shooting one!) and come to full draw. Close your eyes for a second, when you open your eyes, you’ll likely see that your bubble level is not centered. Let down without shooting and begin adjusting your offset bracket away from the riser until you repeat the above test and find
your bubble in the center. Now, go hit the range, push past your comfort zone and you’ll likely find your pin is staying in the center longer and your shots feel much cleaner.
When it comes to bowhunting, the odds are stacked against us. The game we pursue spend their entire lives with the sole purpose of
avoiding getting killed! Any advantage that you can put on your side is one that you should take. Stabilizers help in many ways: creating a more desirable follow through, increasing your ability to hold in the middle (especially in
windy conditions), decreasing vibration and bow noise, and even giving you a handle to hold onto when you’re carrying your bow on your shoulders. So, take the time this offseason to dive into your setup and experiment with your stabilization options. I promise you’ll hit the woods next season with increased confidence in your moment of truth!


