Gear

A Competitive Advantage

Adjustments.jpeg

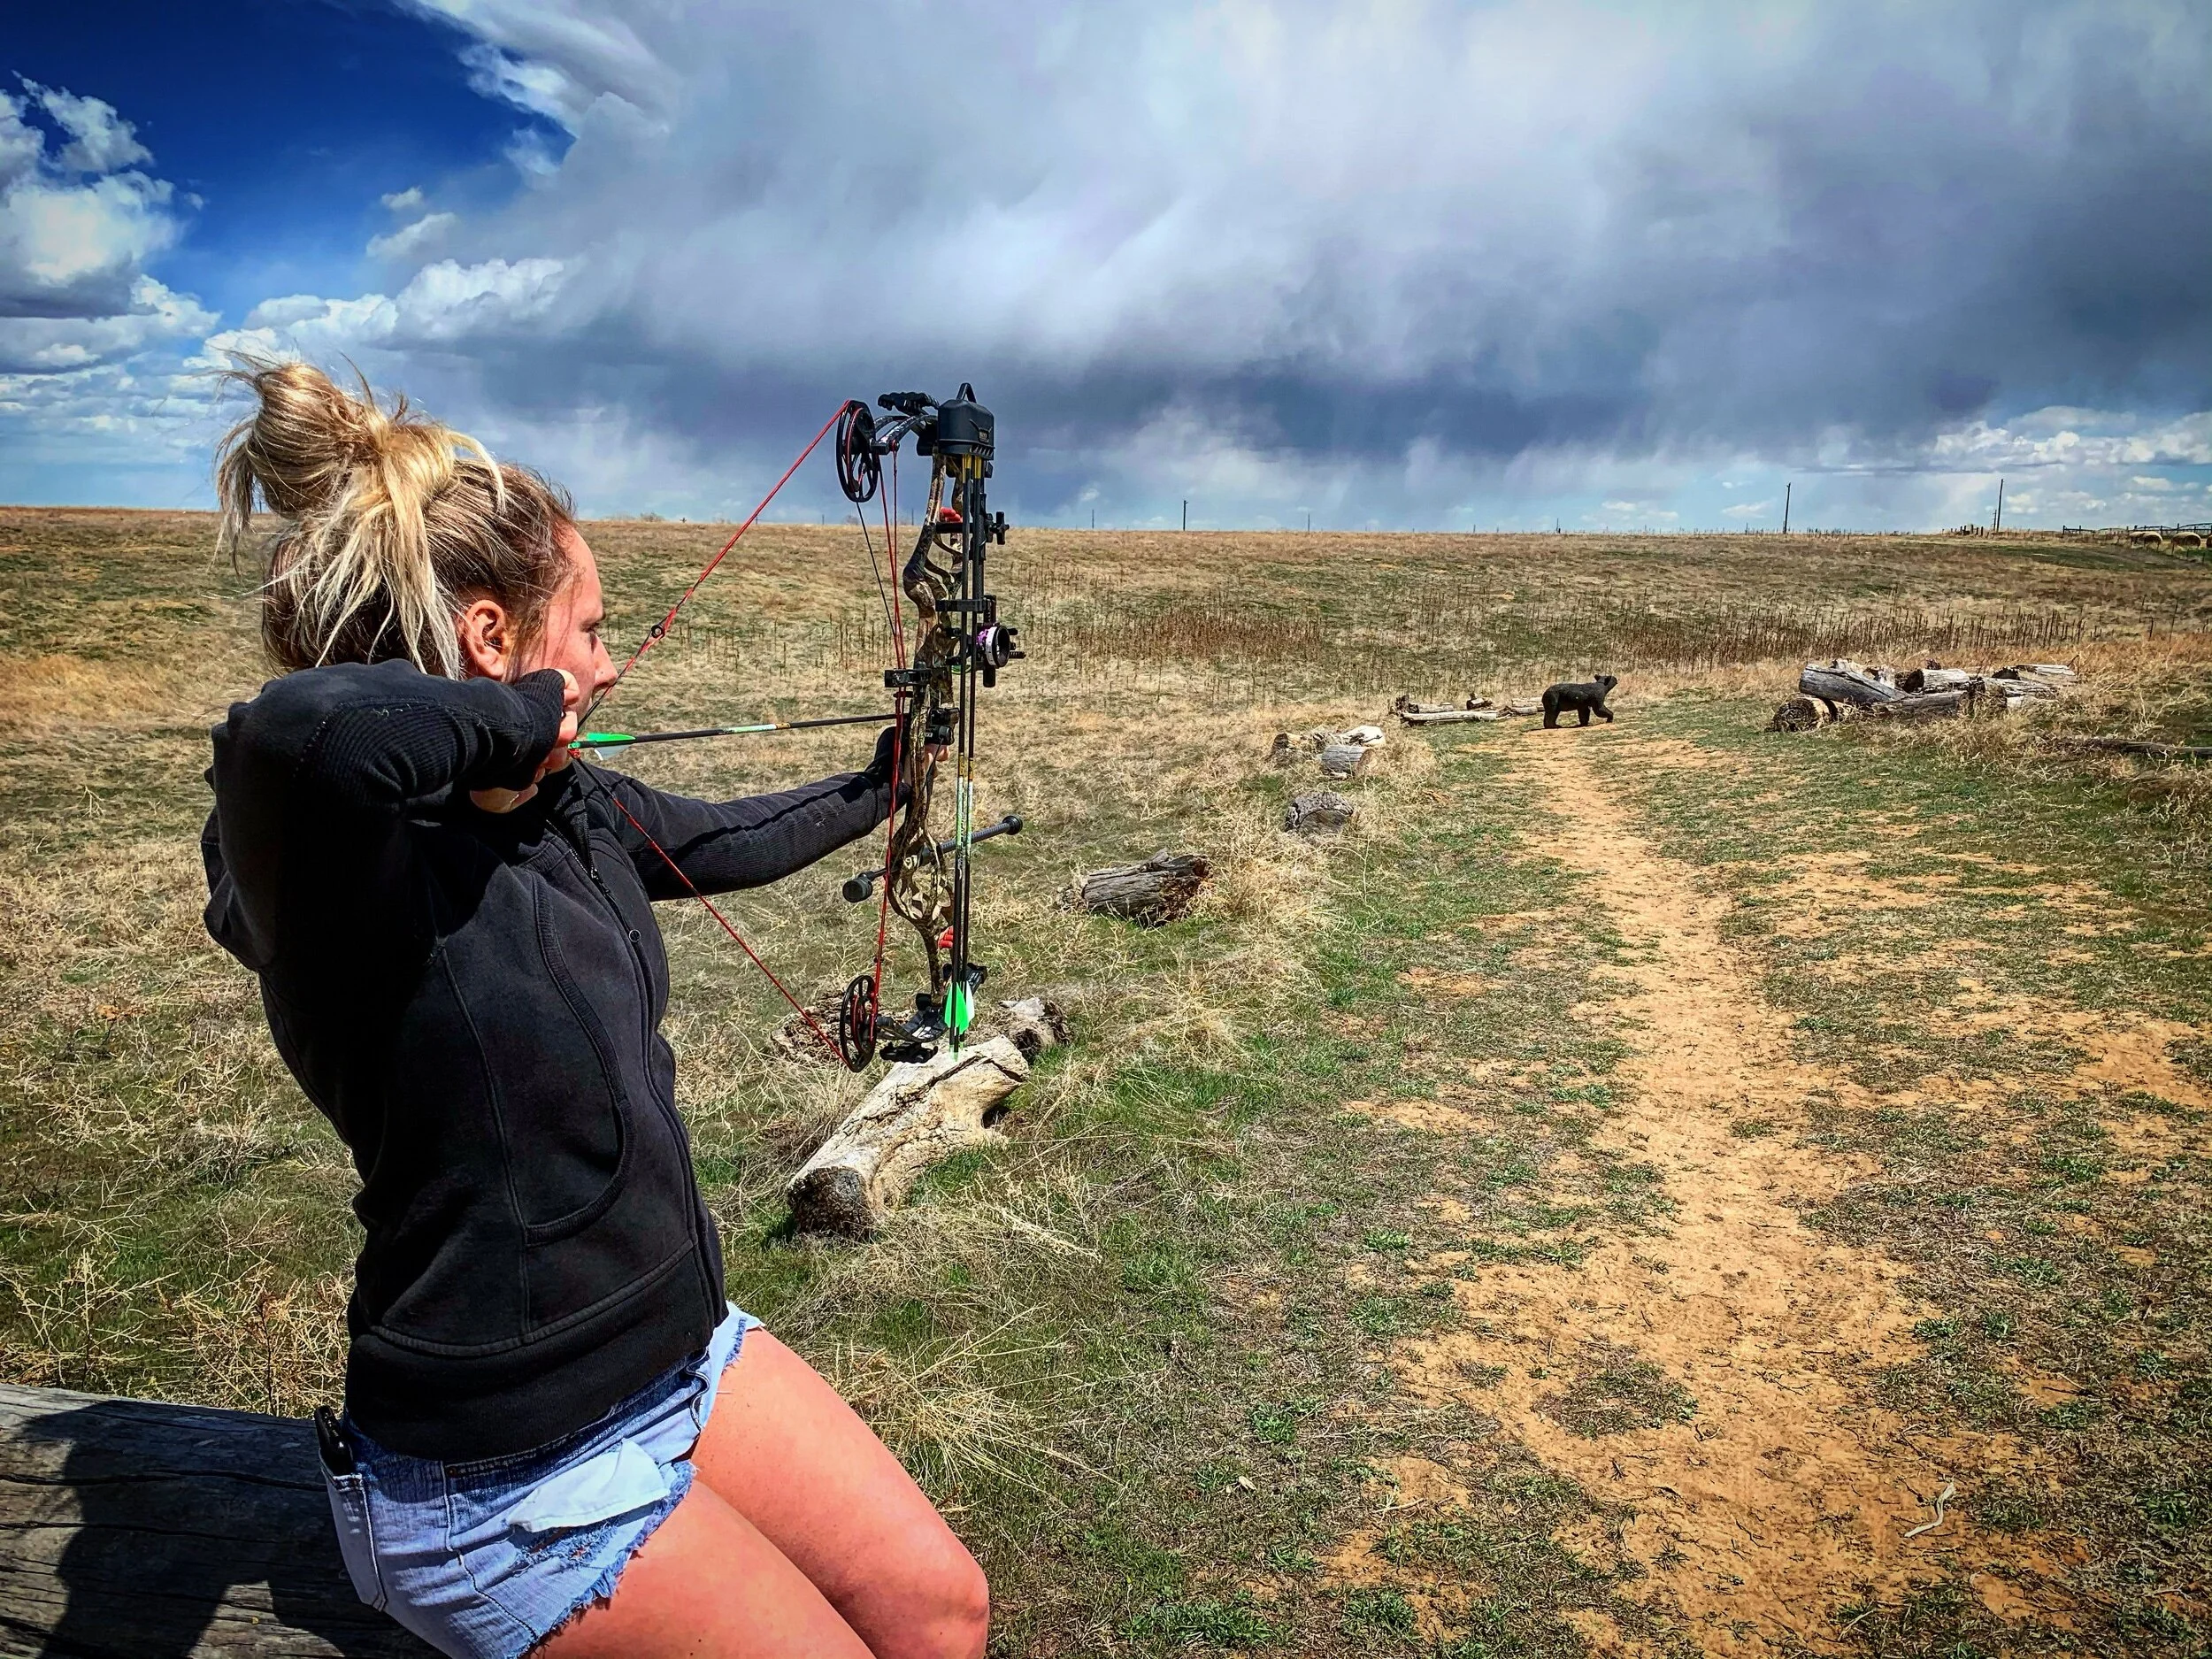
In today’s archery market, the options for gear are profound and overwhelming. Single pin, multi pin, cable driven, limb driven, hybrid cam, dual cam, fixed blade, mechanical, realtree, optifade, barren, there are dozens of decisions to be made. One piece of gear that is often overlooked is stabilizers. In this article, we will cover the advantages of a micro diameter bow stabilizer, and more specifically, the advantages of the ones we offer here at Cutter Stabilizers.

When highlighting any product, it can be difficult to not come off as “sales pitch-y”, but the intention of this writing is to simply educate the reader on the benefits of the system we have created. As stated earlier, the number of options is overwhelming. Having used and tested many of the available stabilizers both on the range and in the woods, we have established a baseline of information. It is here that we began development.

In order to get to where we are now, we need to go back almost three years, to the beginning. I left my retail job at Sportsmans Warehouse to pursue a new endeavor in a field I had zero experience in, automation, more specifically, manufacturing parts in a machine shop. The new career brought challenges, and an entirely different skill set, but something was missing, the passion. I needed to find a way to tie the two together, so utilizing a piece of carbon I had sitting around at the house from a previous project, I machined a few aluminum caps and made my first stabilizer. It was clunky, heavy, and 7/8” in diameter, but it worked! Very similar to other bars on the market, it worked, but had one huge downfall. Once a cross wind came into play, I found myself struggling to hold on target. After talking to a few different really good archers, and thinking about my arrow choice (a micro diameter shaft), it was time to see if it was possible to build something strong enough for hunting, yet sleek and aerodynamic to increase performance in the wind. Trial, failure, trial, failure, until the V1 was born. An ultralight, strong 1/2” diameter stabilizer, I knew I was onto something here. One windy day on the 3D course confirmed it, my pin float was small, and the wind had a noticeably smaller effect on my bow. We were in business.

DA4A1D06-D291-4A6F-B9DB-DA6B03FBF7EA.jpeg

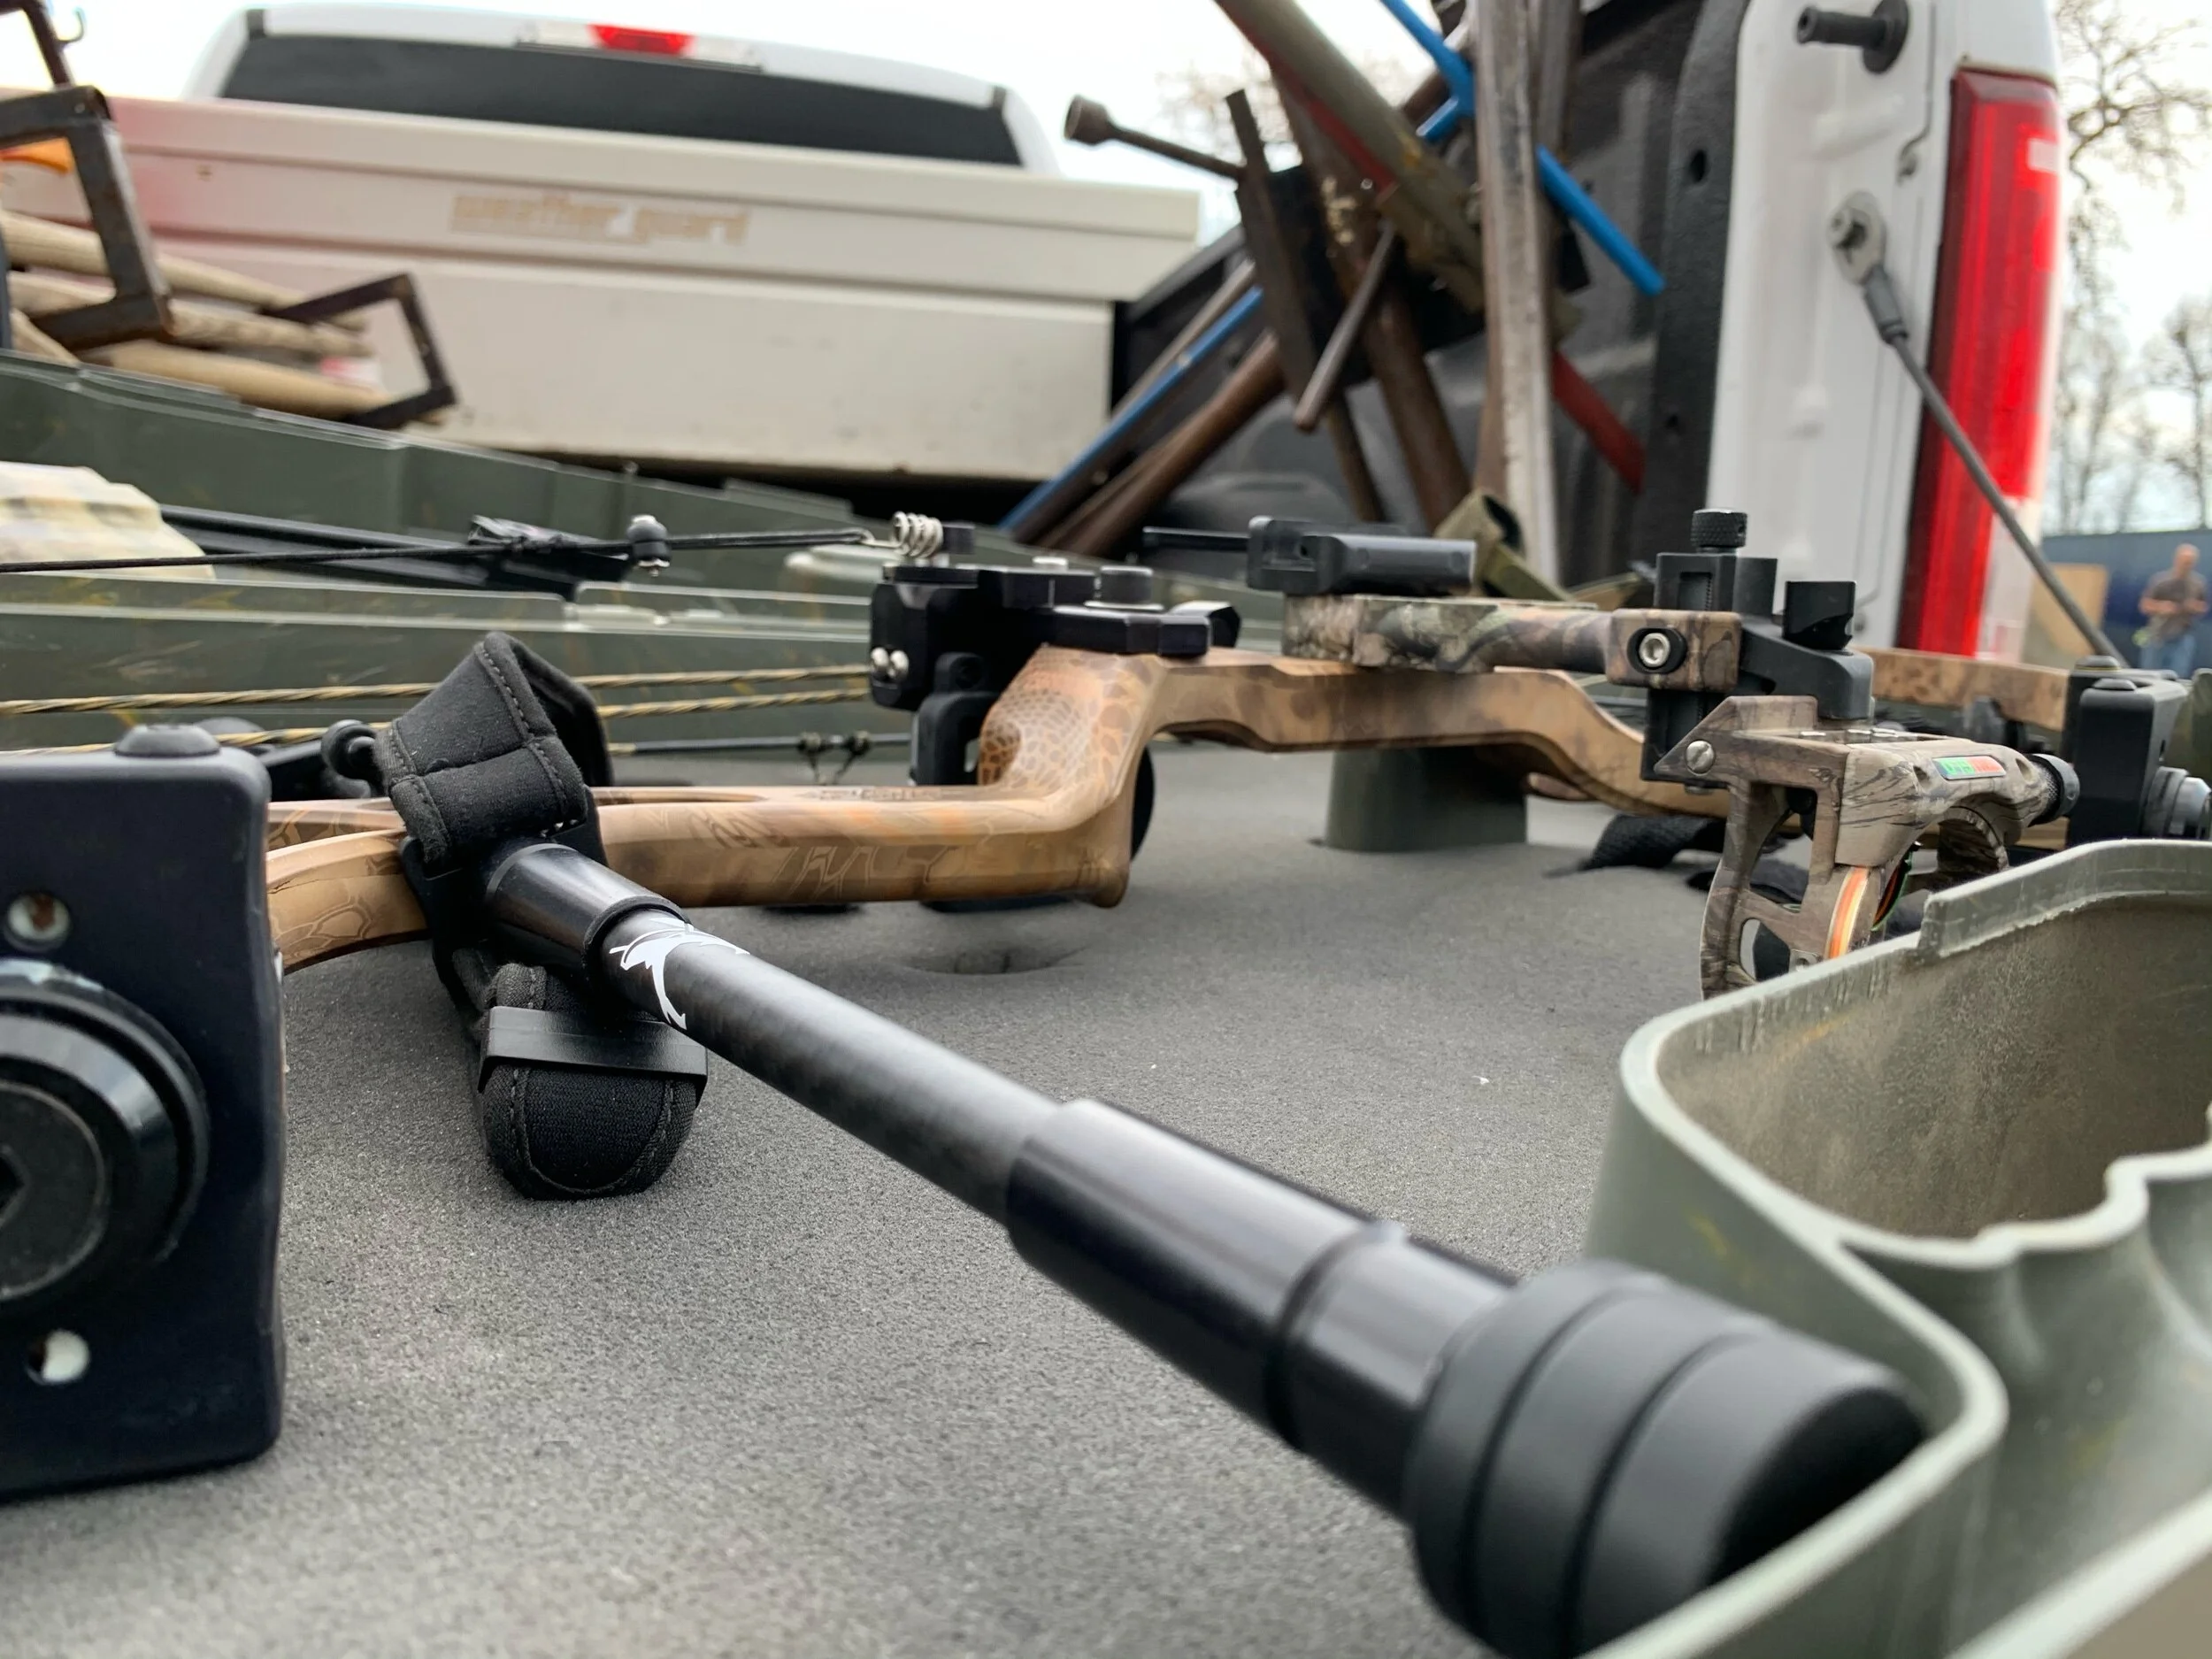
There were a few key features I knew needed to be there in order to make this product effective: strength, weight, and vibration dampening ability. First thing to do was to get these bars in the hands of some of the most hardcore bow hunters I knew, if they passed the test of being in the field 50-100 days a year, they would be strong enough. The size and materials they were constructed of ensured the weight would be lighter than anything else. In order to keep the profile small, I knew the vibration dampening material needed to be housed inside the carbon tube, otherwise what was the point? Plenty of stabilizers have rubber dampeners on the exterior, but that takes a 3/4” bar and makes it 1.5” in diameter, not good. The material itself is an extremely soft silicone rubber hybrid that disperses high and low frequency vibration, often used to isolate sensitive electronic components in medical devices. The goal was to take the idea and features of a great stabilizer and add the benefit of better performance in windy conditions. It would still do it’s job of decreasing pin float and felt hand shock, PLUS still be effective in harsh and unforgiving conditions often found in western hunting scenarios.

Adjustments.jpeg

The foundation of our stabilizers is certainly the .497 OD carbon fiber tube. Thick walls and stiff construction, paired with an aesthetically pleasing weave come together to create an excellent platform to build on. 6061 aluminum is lightweight, and extremely strong when utilized properly. That part took a couple attempts, after hearing feedback from my “field team”, the necessary corrections were made to eliminate any chance of failure. These guys and gals were pushing themselves and their equipment to the absolute limit, I even heard a story of packing a bear up a mountain using their bow (stabilizer) as a walking stick! Talk about a tall hurdle to overcome, but we did it. These bars are over-engineered, and that is totally fine with me.

Adjustments.jpeg

The finished product is designed to take a beating, a hard anodized finish in the aluminum components, a durable clear coating on the carbon, and stainless steel hardware all make for a bowhunting stabilizer that can withstand just about anything imaginable, even the adhesive used is rated to -30 degrees. So we had the stabilizer figured out, next was an external and modular weight system that upheld the same ideas. Believe me when I say, building a weight system to my required specifications was a tall order.

IMG_2605.jpeg

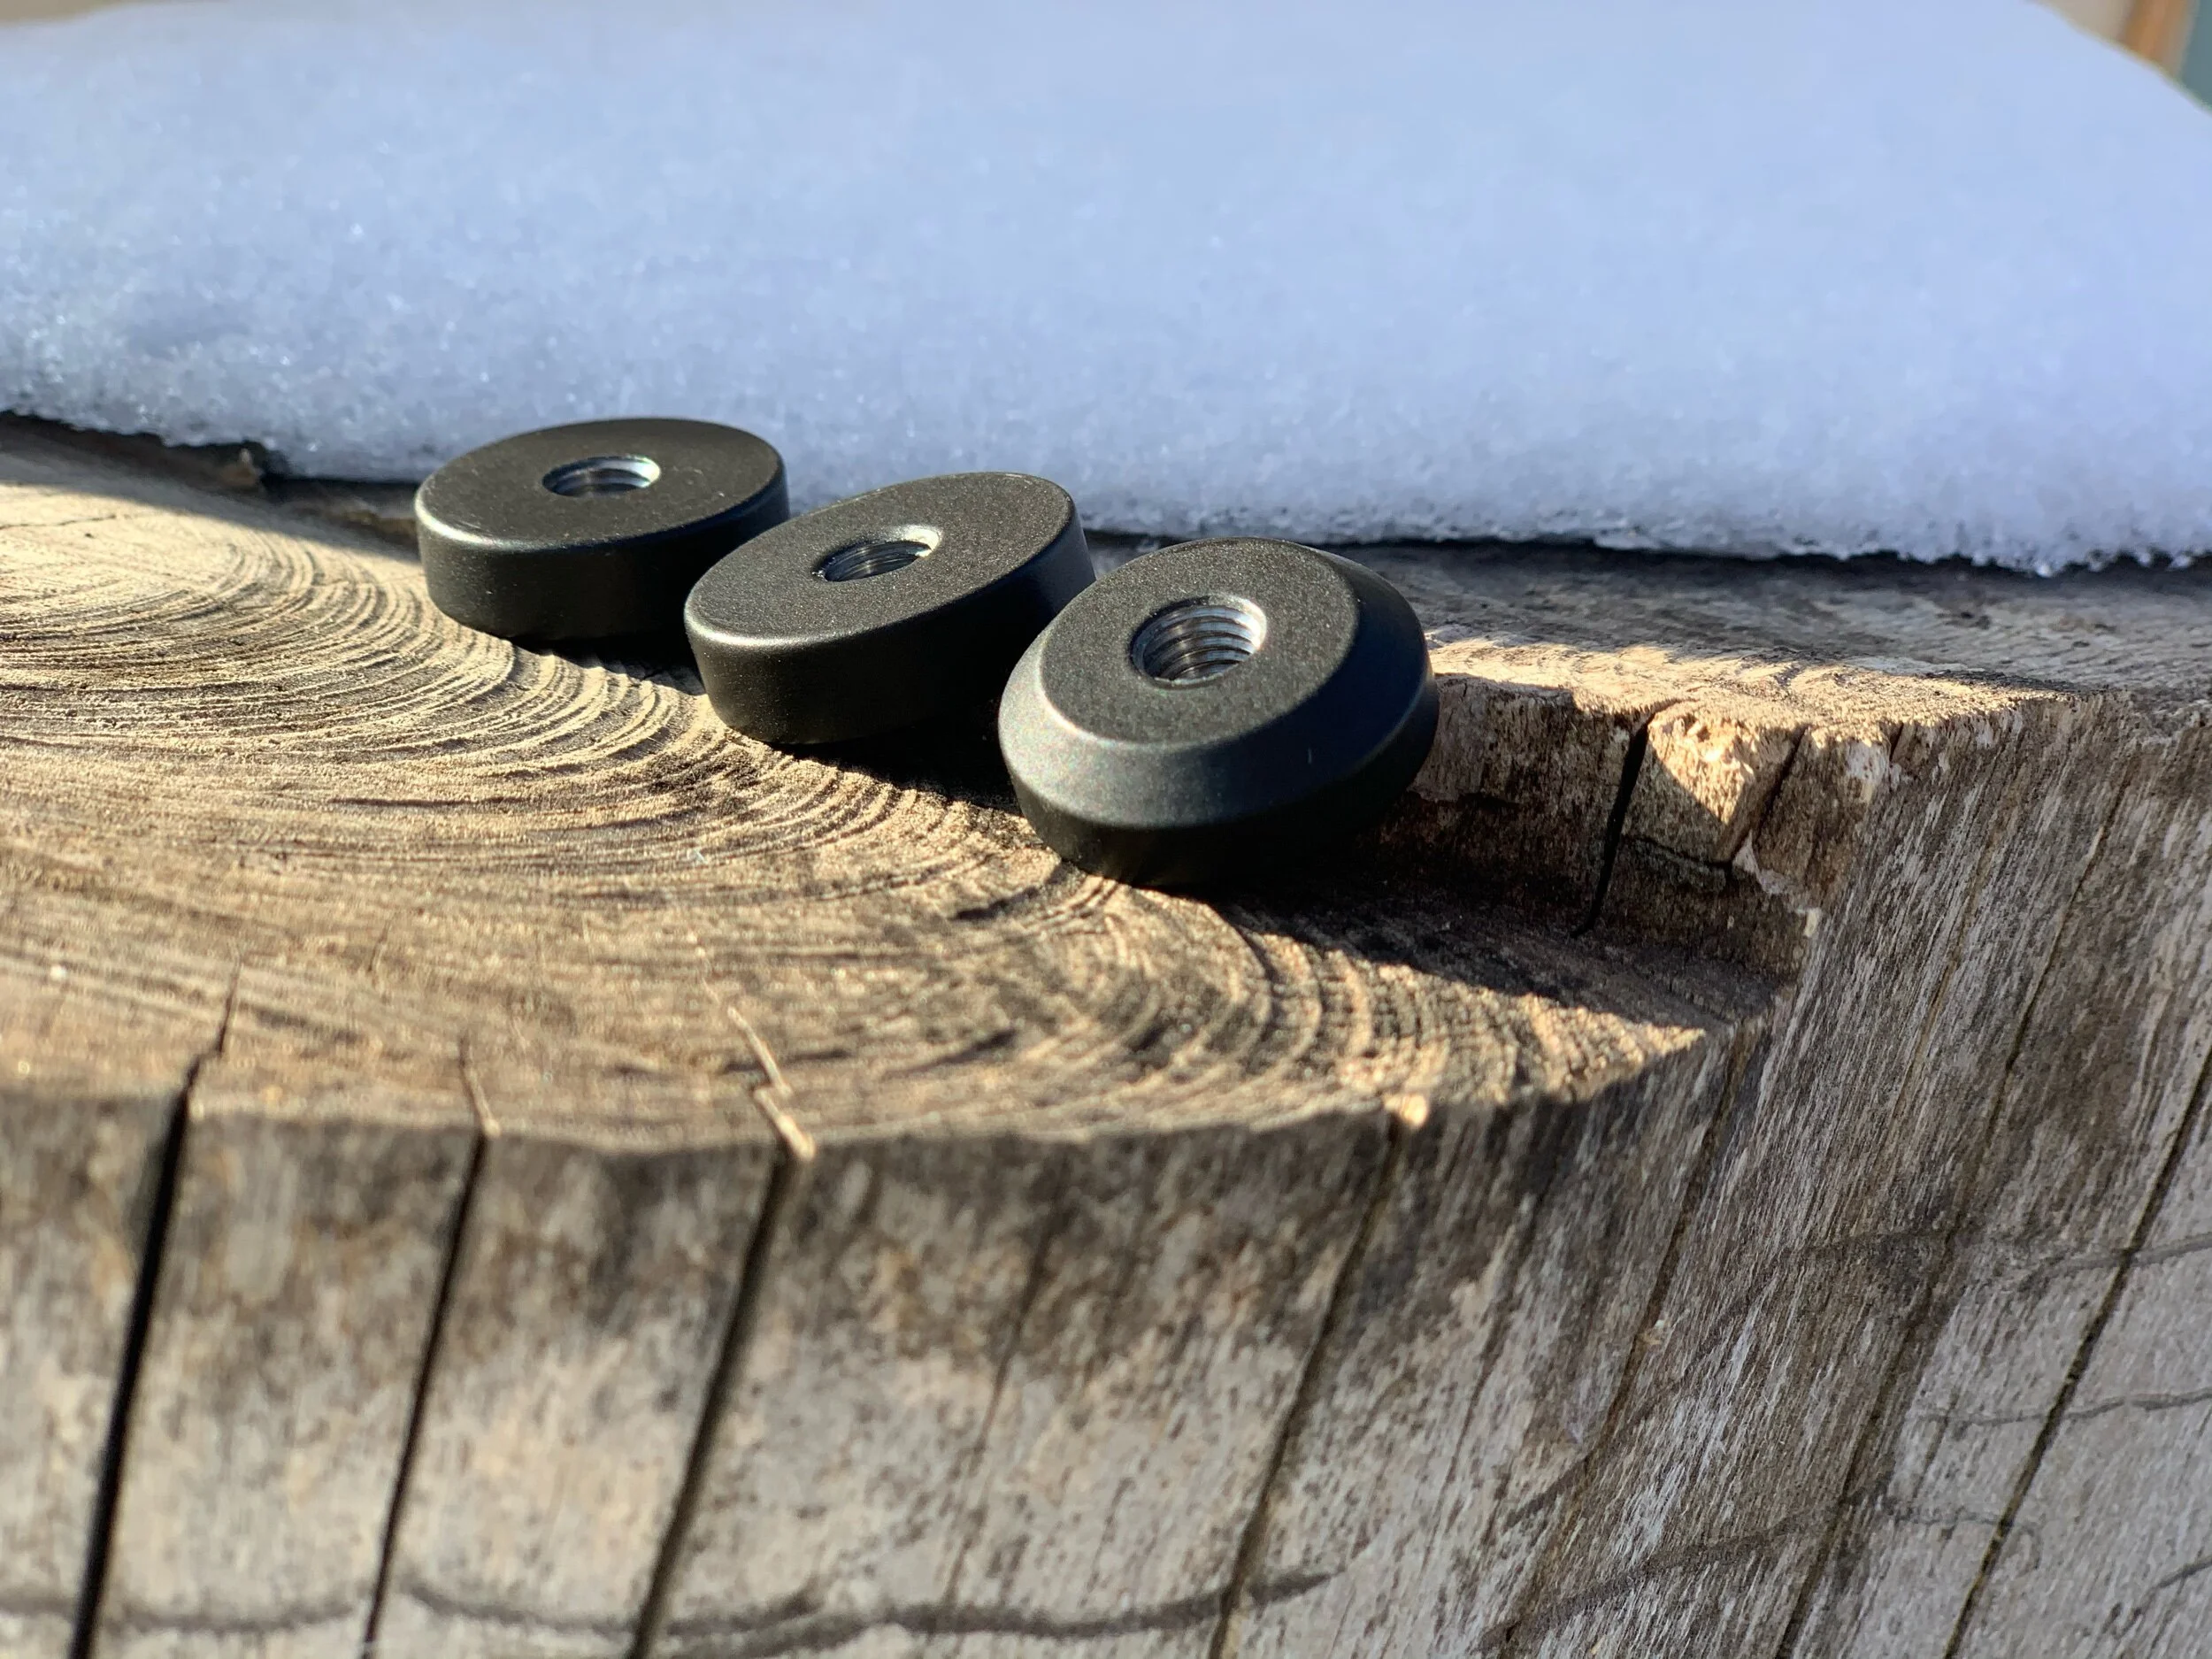
Since the day we created our first stabilizer, we knew that the smaller diameter of our carbon bars was a huge advantage. The aerodynamic profile resulted in prolific and noticeable improvements when shooting in windy conditions. Adding weight to the end of your stabilizer is one of the two main purposes of utilizing one, but we weren’t satisfied with putting our name on something we didn’t fully believe in. After a lot of time behind the computer design software, we figured it out. Using stainless steel, we were able to create a 1oz weight with a smaller overall diameter and a tapered rear weight to pair seamlessly with the end of our stabilizer resulted in a smaller side profile and increased performance in a crosswind. The finish of the weights was just as important to us, so not only did we powdercoat them, we decided to warranty that finish for life.

Adjustments.jpeg

The final challenge was probably the most difficult to sort out, and to me, the most important. Finding a way to manufacture, source materials, and build our stabilizers within the USA, all while still making some kind of profit proved difficult, but after a lot of phone calls, we did it. Keeping our production and materials local is something we are extremely proud of. Once you get your hands on one of our stabilizers, you will be proud to have it as part of your setup as well.

IMG_3077.jpeg

This is truly a passion project for us, bow stabilization is vastly misunderstood and underutilized. My goal with Cutter Stabilizers was to educate, while providing a superior product for bow hunters who want more from their setup without needing to be a technical genius. Time spent chasing game afield is the number one priority for us here at Cutter, and allowing our customers (and our team!) to do that without worrying about their gear is why we do what we do.
IMG_3465.jpeg

A World Of Options

IMG_2934.jpeg

The realm of hunting and archery gear is vast and often overwhelming. When choosing equipment, the factors of functionality, personal preference, and application all should be considered. Unfortunately, most hunting gear cannot be tested and returned if it fails to meet your standards, and purchasing and selling used gear will turn your wallet upside down in a hurry. In this article I will try to provide a look into my personal gear choices and the reasoning behind each choice, hopefully helping the reader in selecting gear that will work for them. There are so many subcategories of gear that this article may run a little long, but I would like to cover as much as possible without diving in too deep.

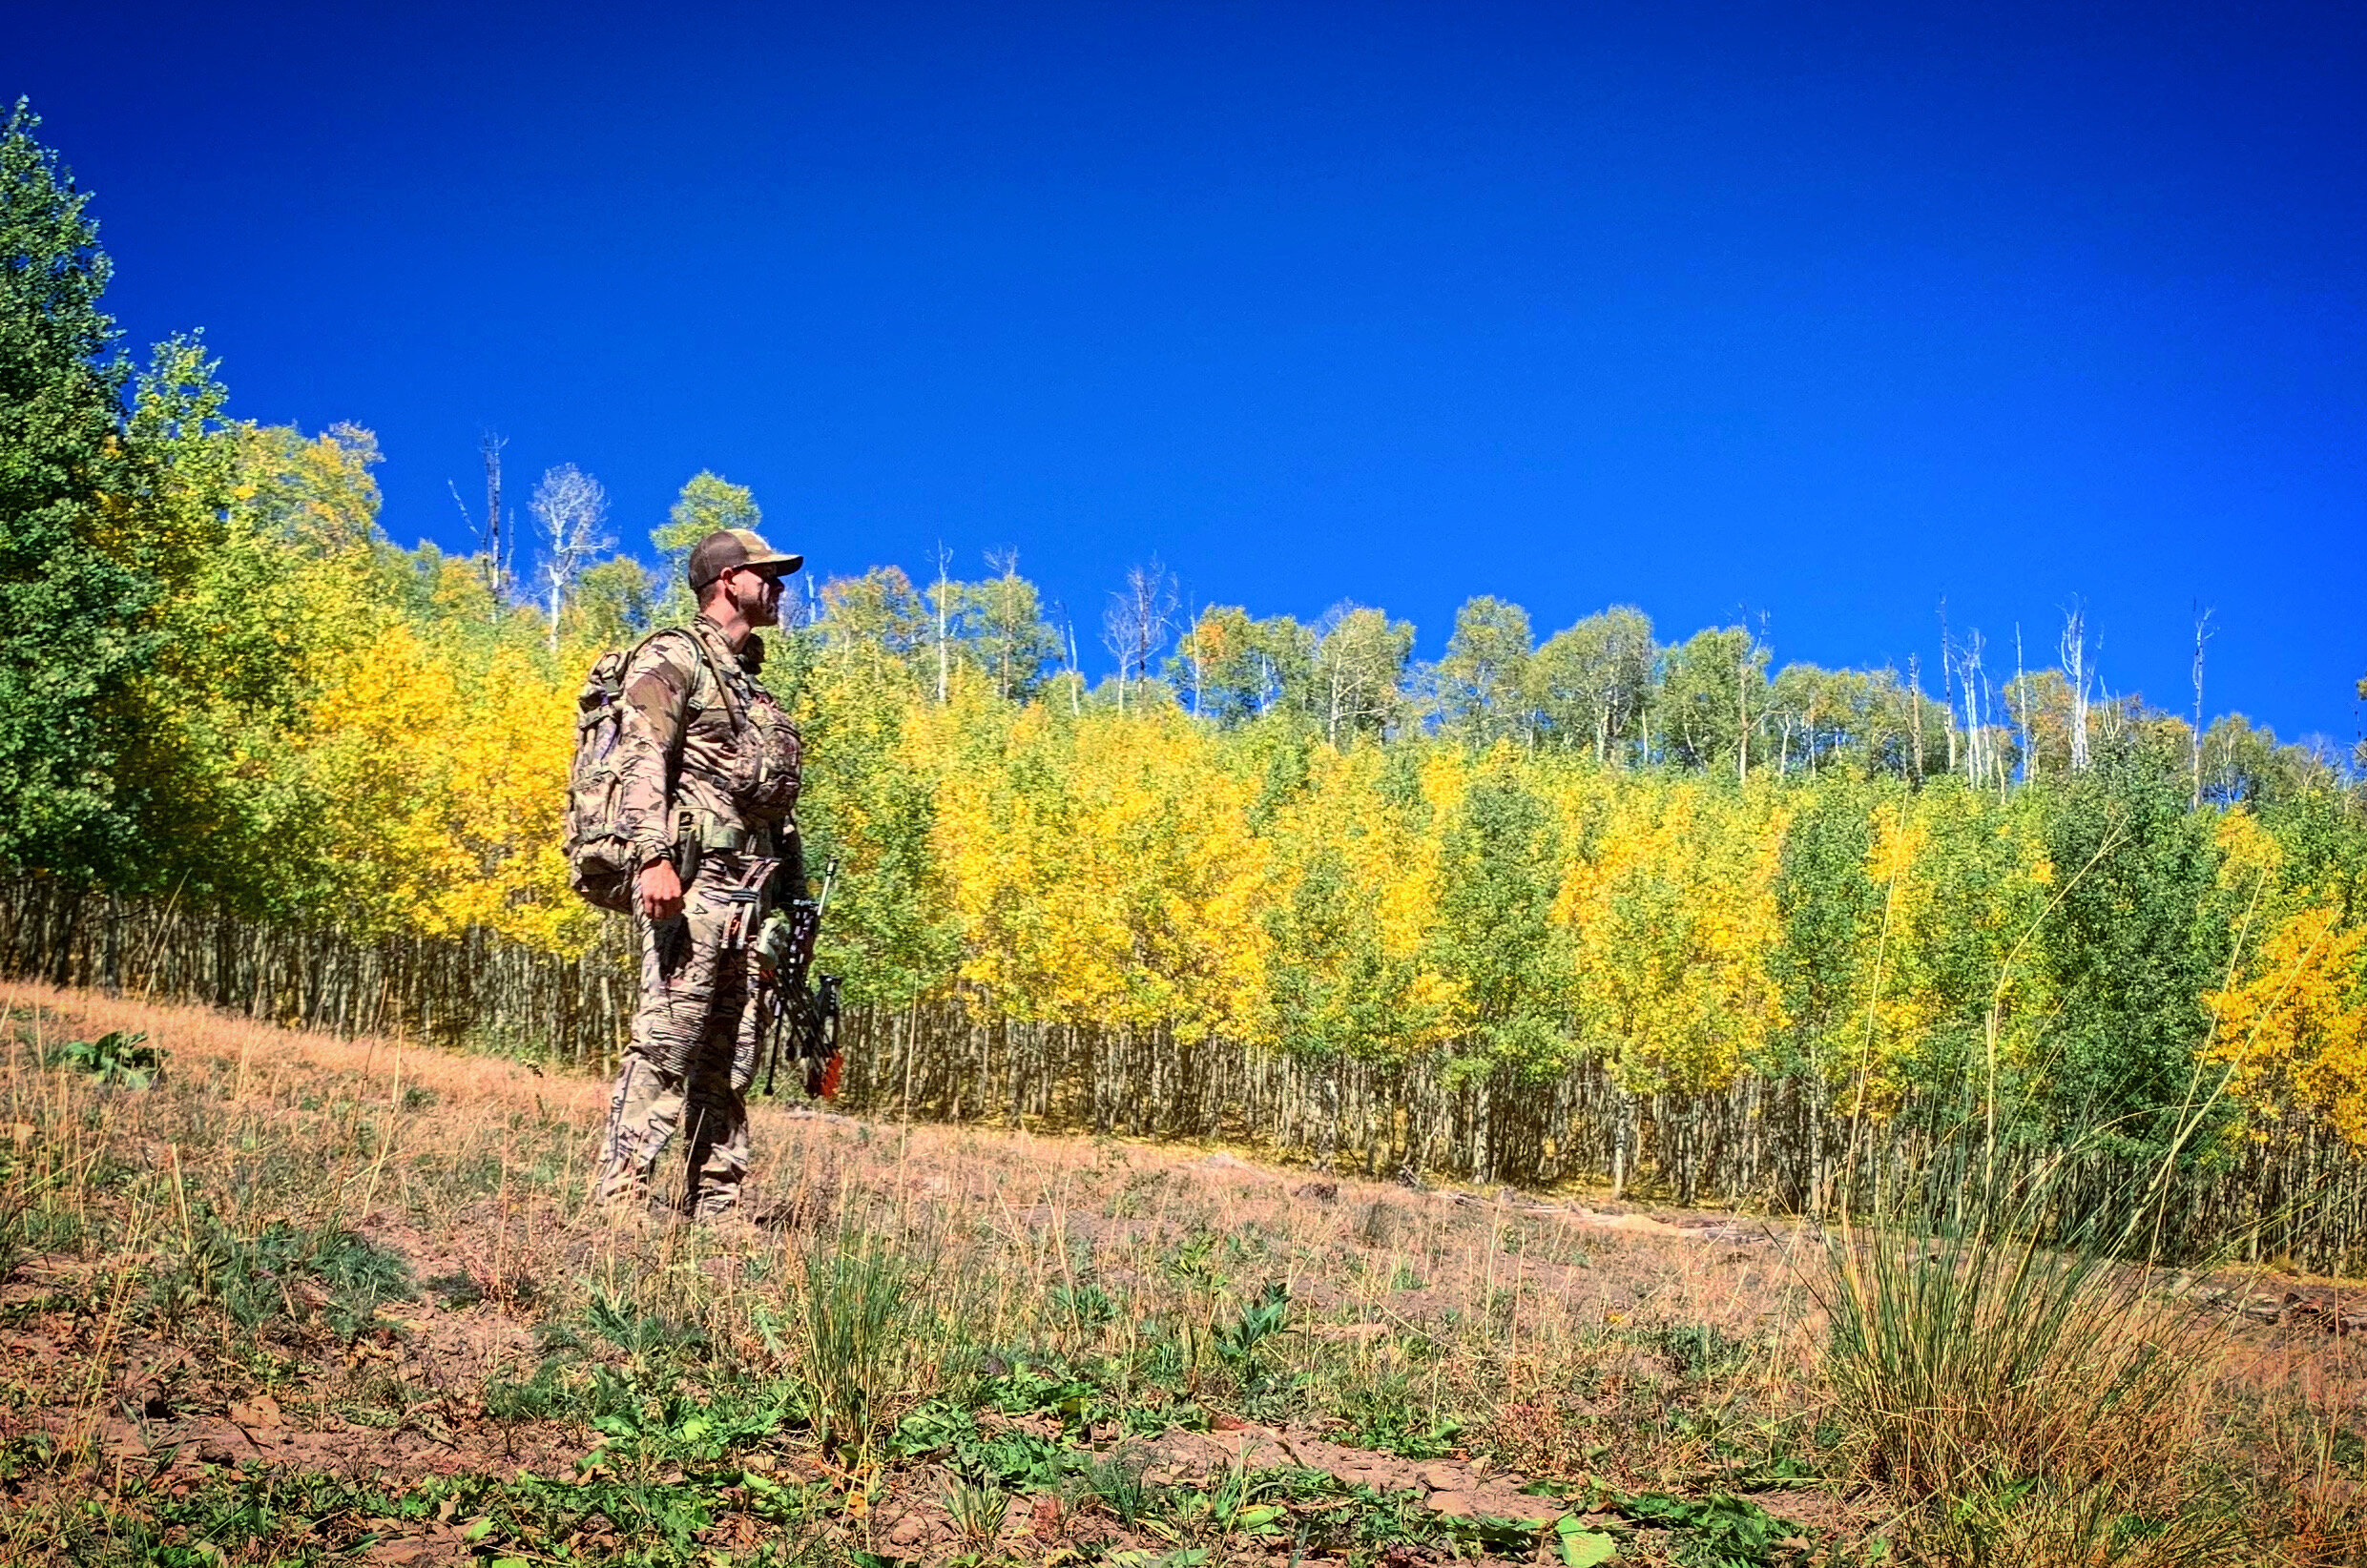
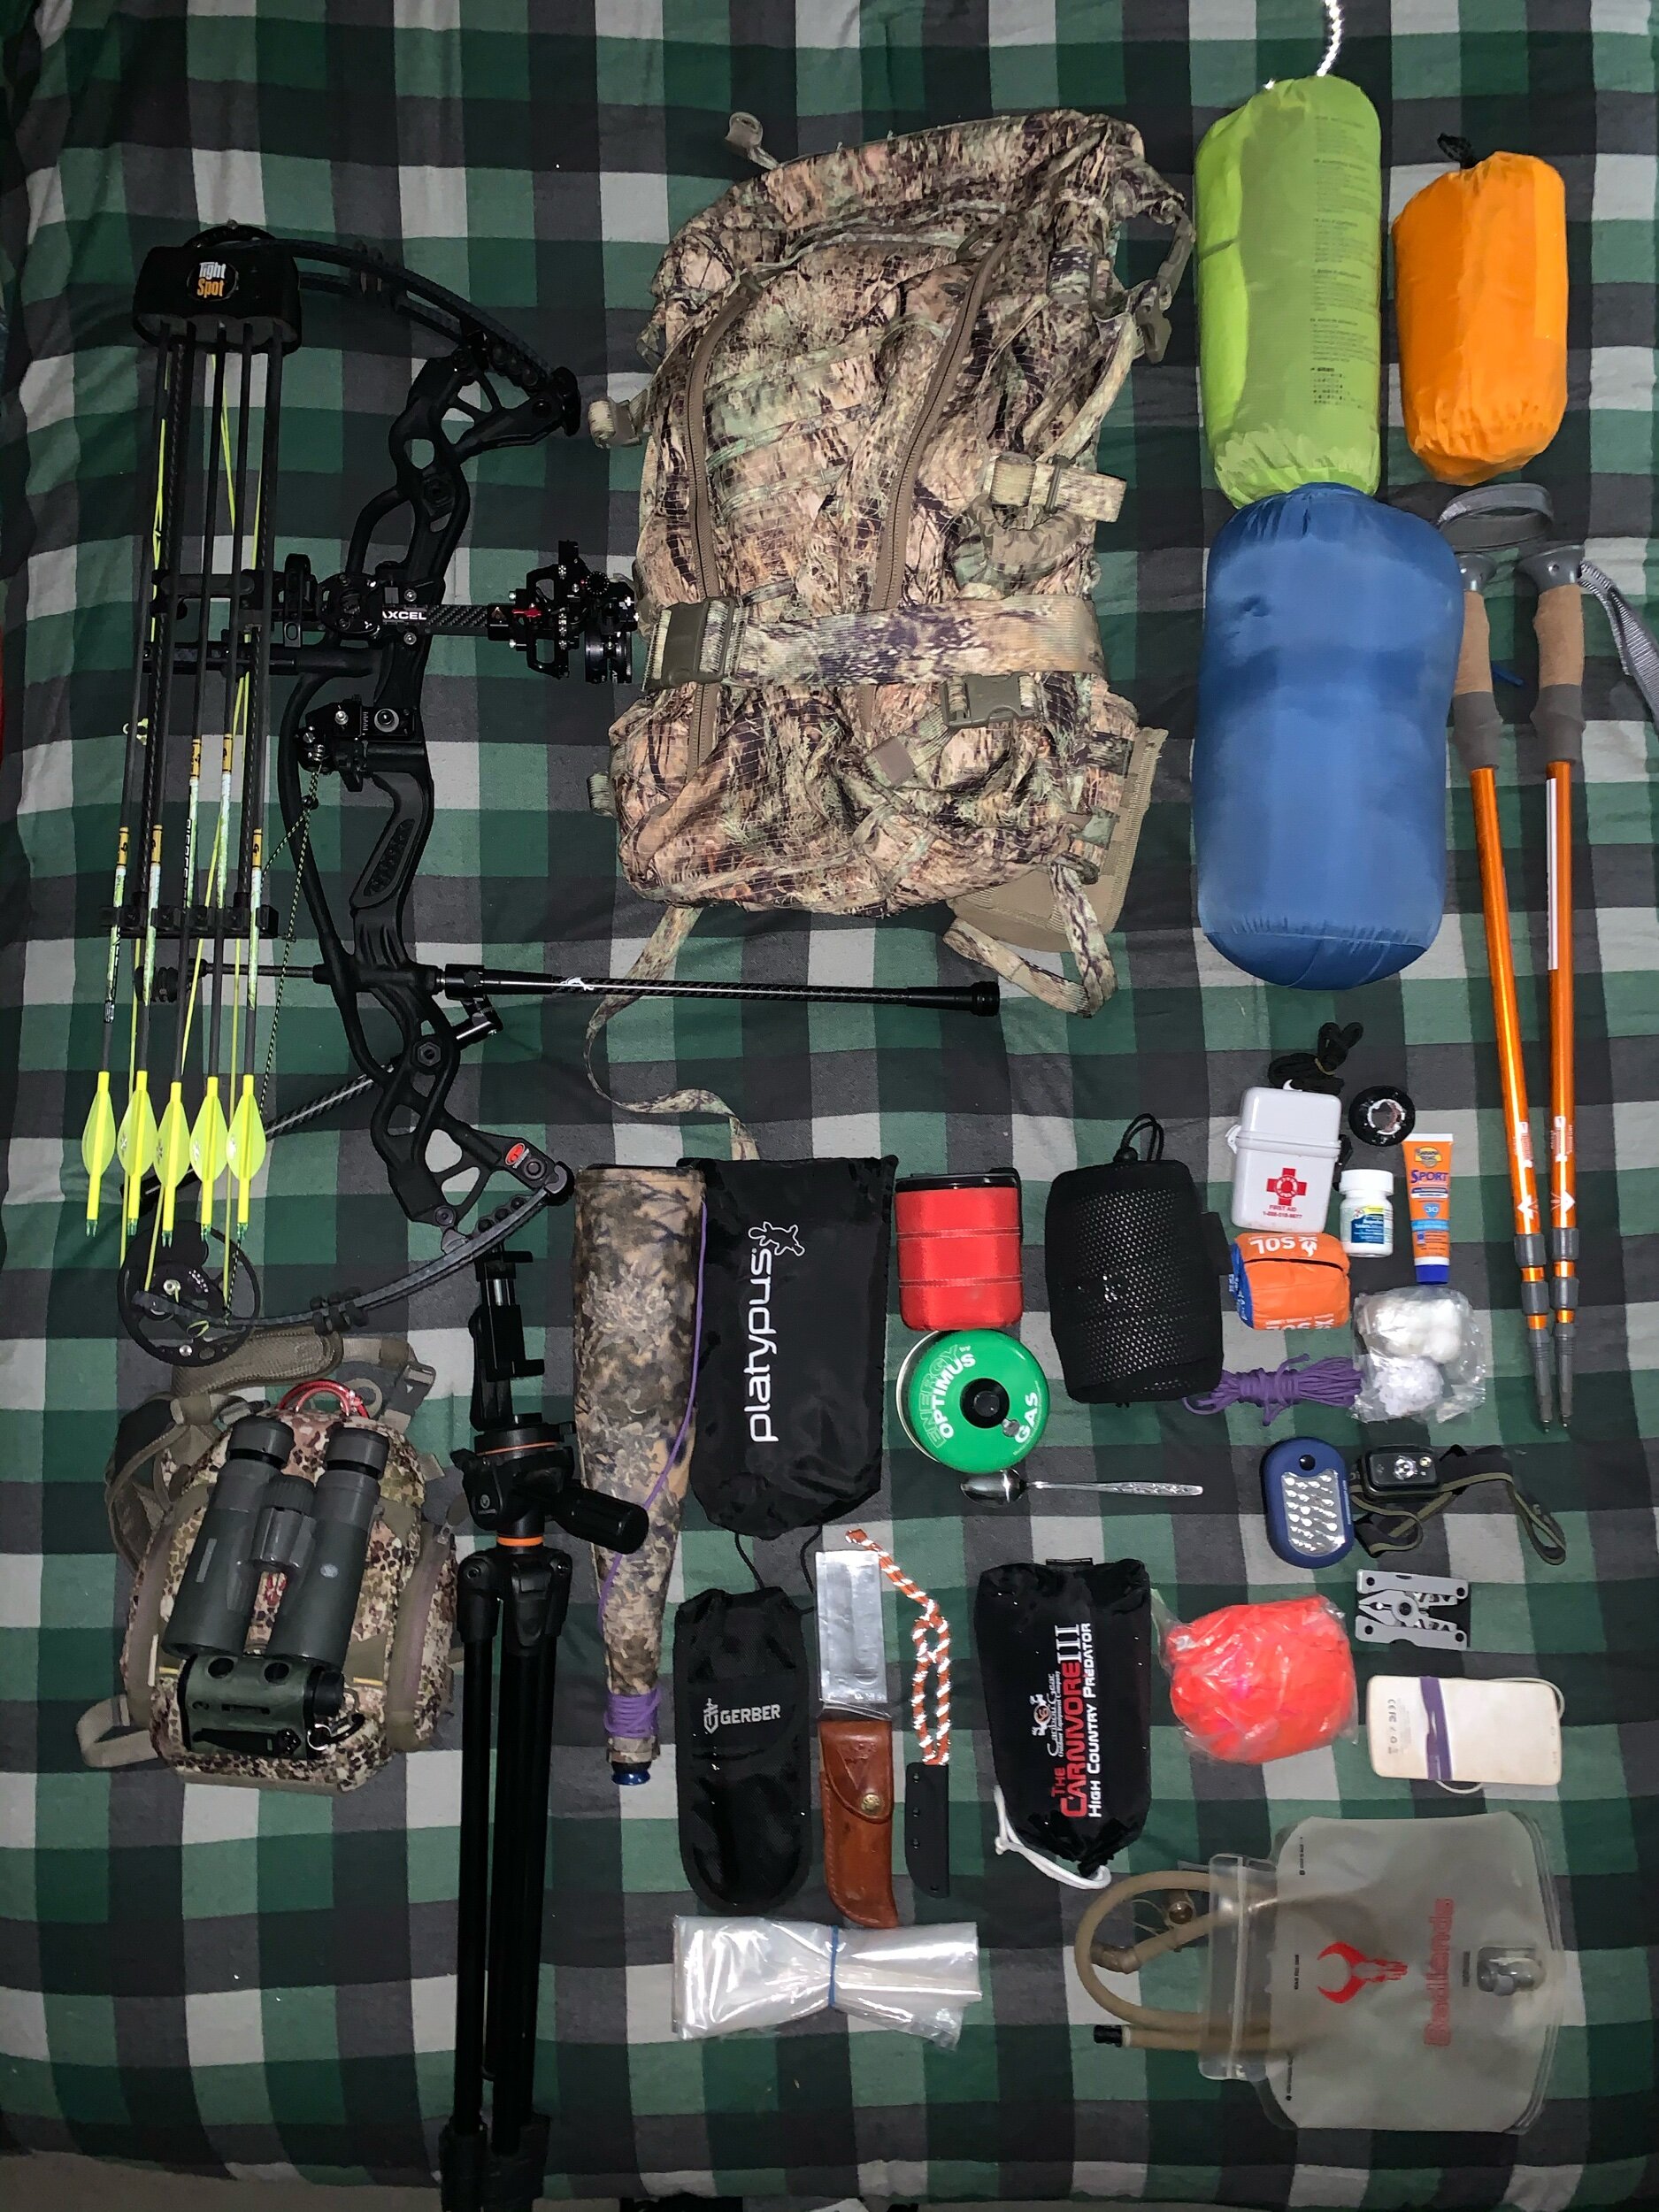
My lightweight, high mobility western kit

My lightweight, high mobility western kit

My high warmth, quiet fabric whitetail kit

My high warmth, quiet fabric whitetail kit

A clothing system is often the most subjective gear category as the application largely dictates the pieces within the system. My application is mainly comprised of early to mid season western mountain hunting with some mid season whitetail hunting at the tail end. Camo pattern is the first choice that needs to be made, and actually is not as important and one might think, so choosing a pattern you feel confident in is about all that matters. I use Under Armour Barren and Forest pattern for all of my hunts. The number of close encounters that I’ve had where animals were unaware of my presence is enough to provide the confidence I desire. For my early season antelope hunts I predominantly wear the Raider pants and the Early Season Threadborne hooded top. The flexibility and breathability provide comfort and moisture wicking that makes hot weather hunts more enjoyable. For high country archery hunts in early September into mid September the Raider pants remain in my kit, however I layer with the Midseason Wool reversible top and bottom base layers. For my outer layer I utilize either the Under Armour 2 in 1 Primaloft convertible jacket or the Gore Tex Pro shell. For socks I like the Smart Wool hunter, and the Under Armour All Season Wool and they remain the same throughout all early season hunts. Footwear is often something that changes depending on the hunt I am going on, Pronghorn I use a goretex lightweight Under Armour tactical boot, high country I use either the Salomon ultra mid gtx, or the Salomon X ALP MTN GTX. The ultra mid is flexible and lightweight, yet provides adequate support while remaining waterproof. The X ALP MTN GTX is a much stiffer mountaineering style boot with better support and a more purpose built chassis for navigating more rugged terrain. On any western mountain hunt, I am always wearing gaiters. It’s hard to explain how amazing a good pair of gaiters are until you have a good pair. I choose the UA Ridge Reaper gaiters, they are waterproof, stay in place, and fit snugly thus not rubbing together causing excess noise.
Once midsession whitetail comes around, everything changes. My base layer remains the same, however I then switch to the Under Armour Timber Pants and Midseason Hooded mid layer. My 2 in 1 jacket is a good insulation layer to run under a UA Forest pattern pull over hoody. I then switch socks to the Smart Wool Ultra Heavy Wool over the calf, and Cabelas 1200g Thinsulate rubber boots. I utilize a Hot Hands Hand muff in exchange for my Under Armour Early Season gloves. I’ll also use a UA late season Primaloft beanie and neck gaiter. Changing out certain articles of clothing for others allows for a versatile system that can be layered for a wide variety of conditions.

597E83C5-1AB5-4EA7-B034-2038EE82479C.jpeg

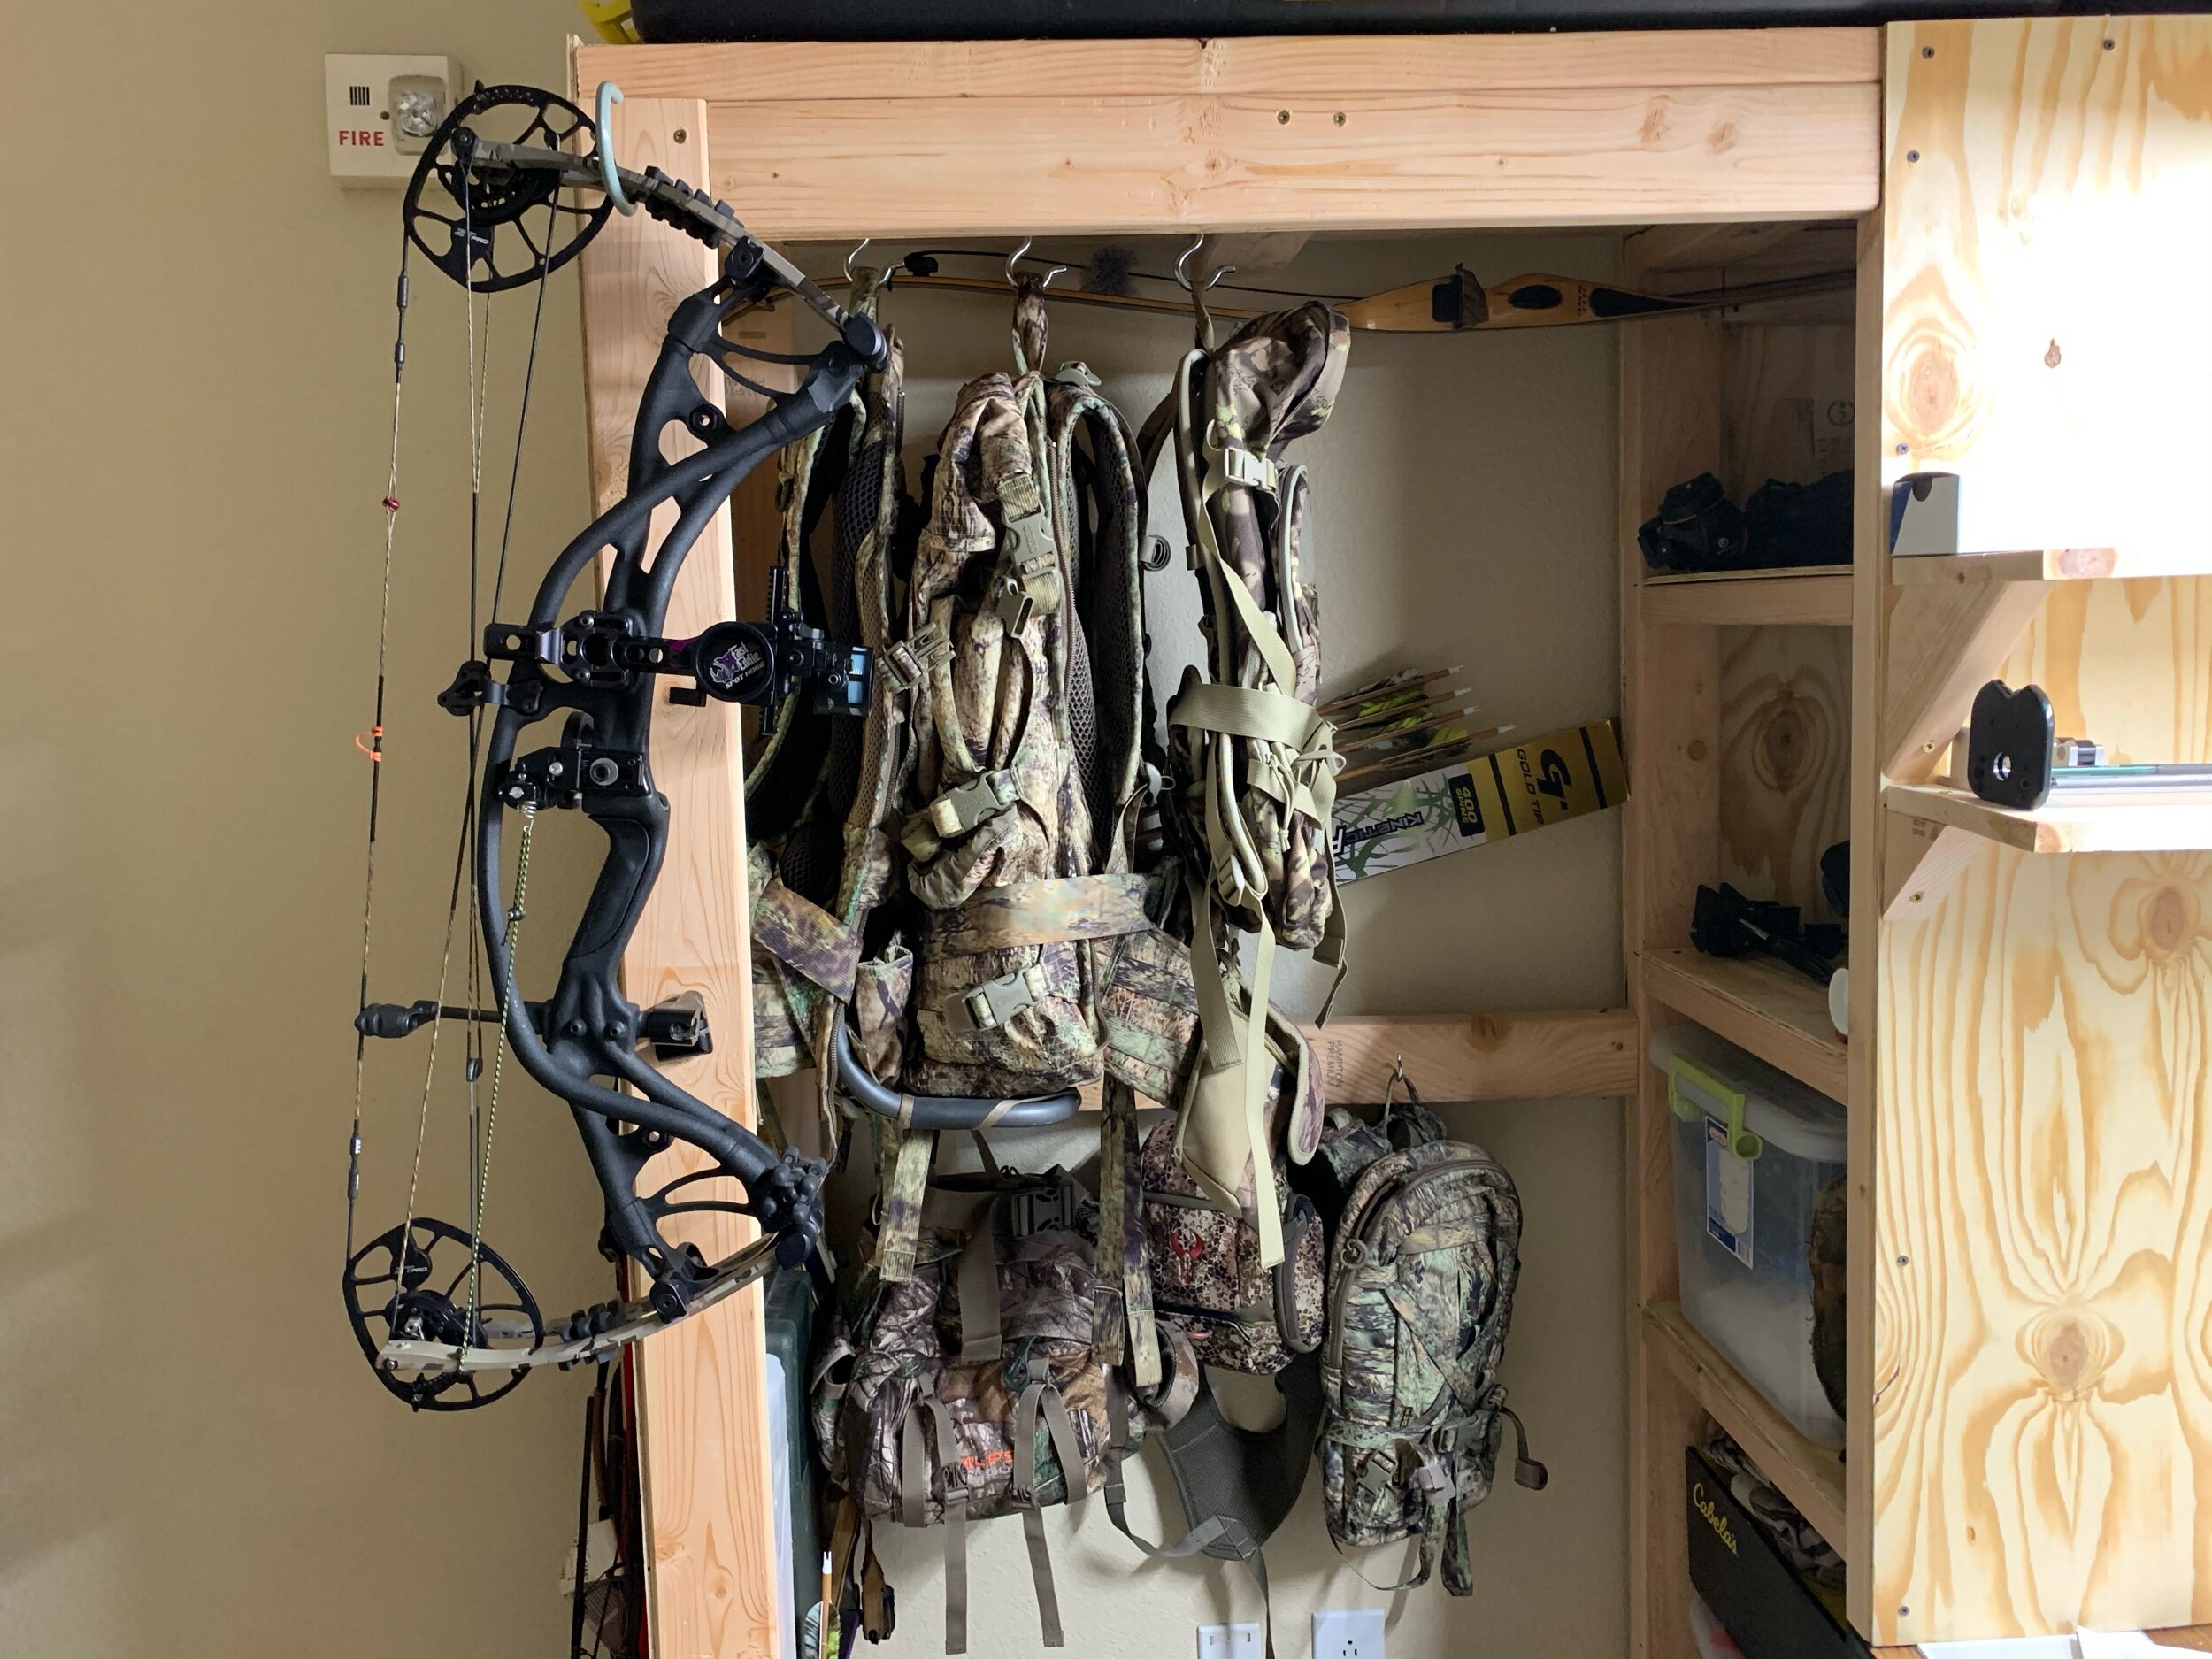
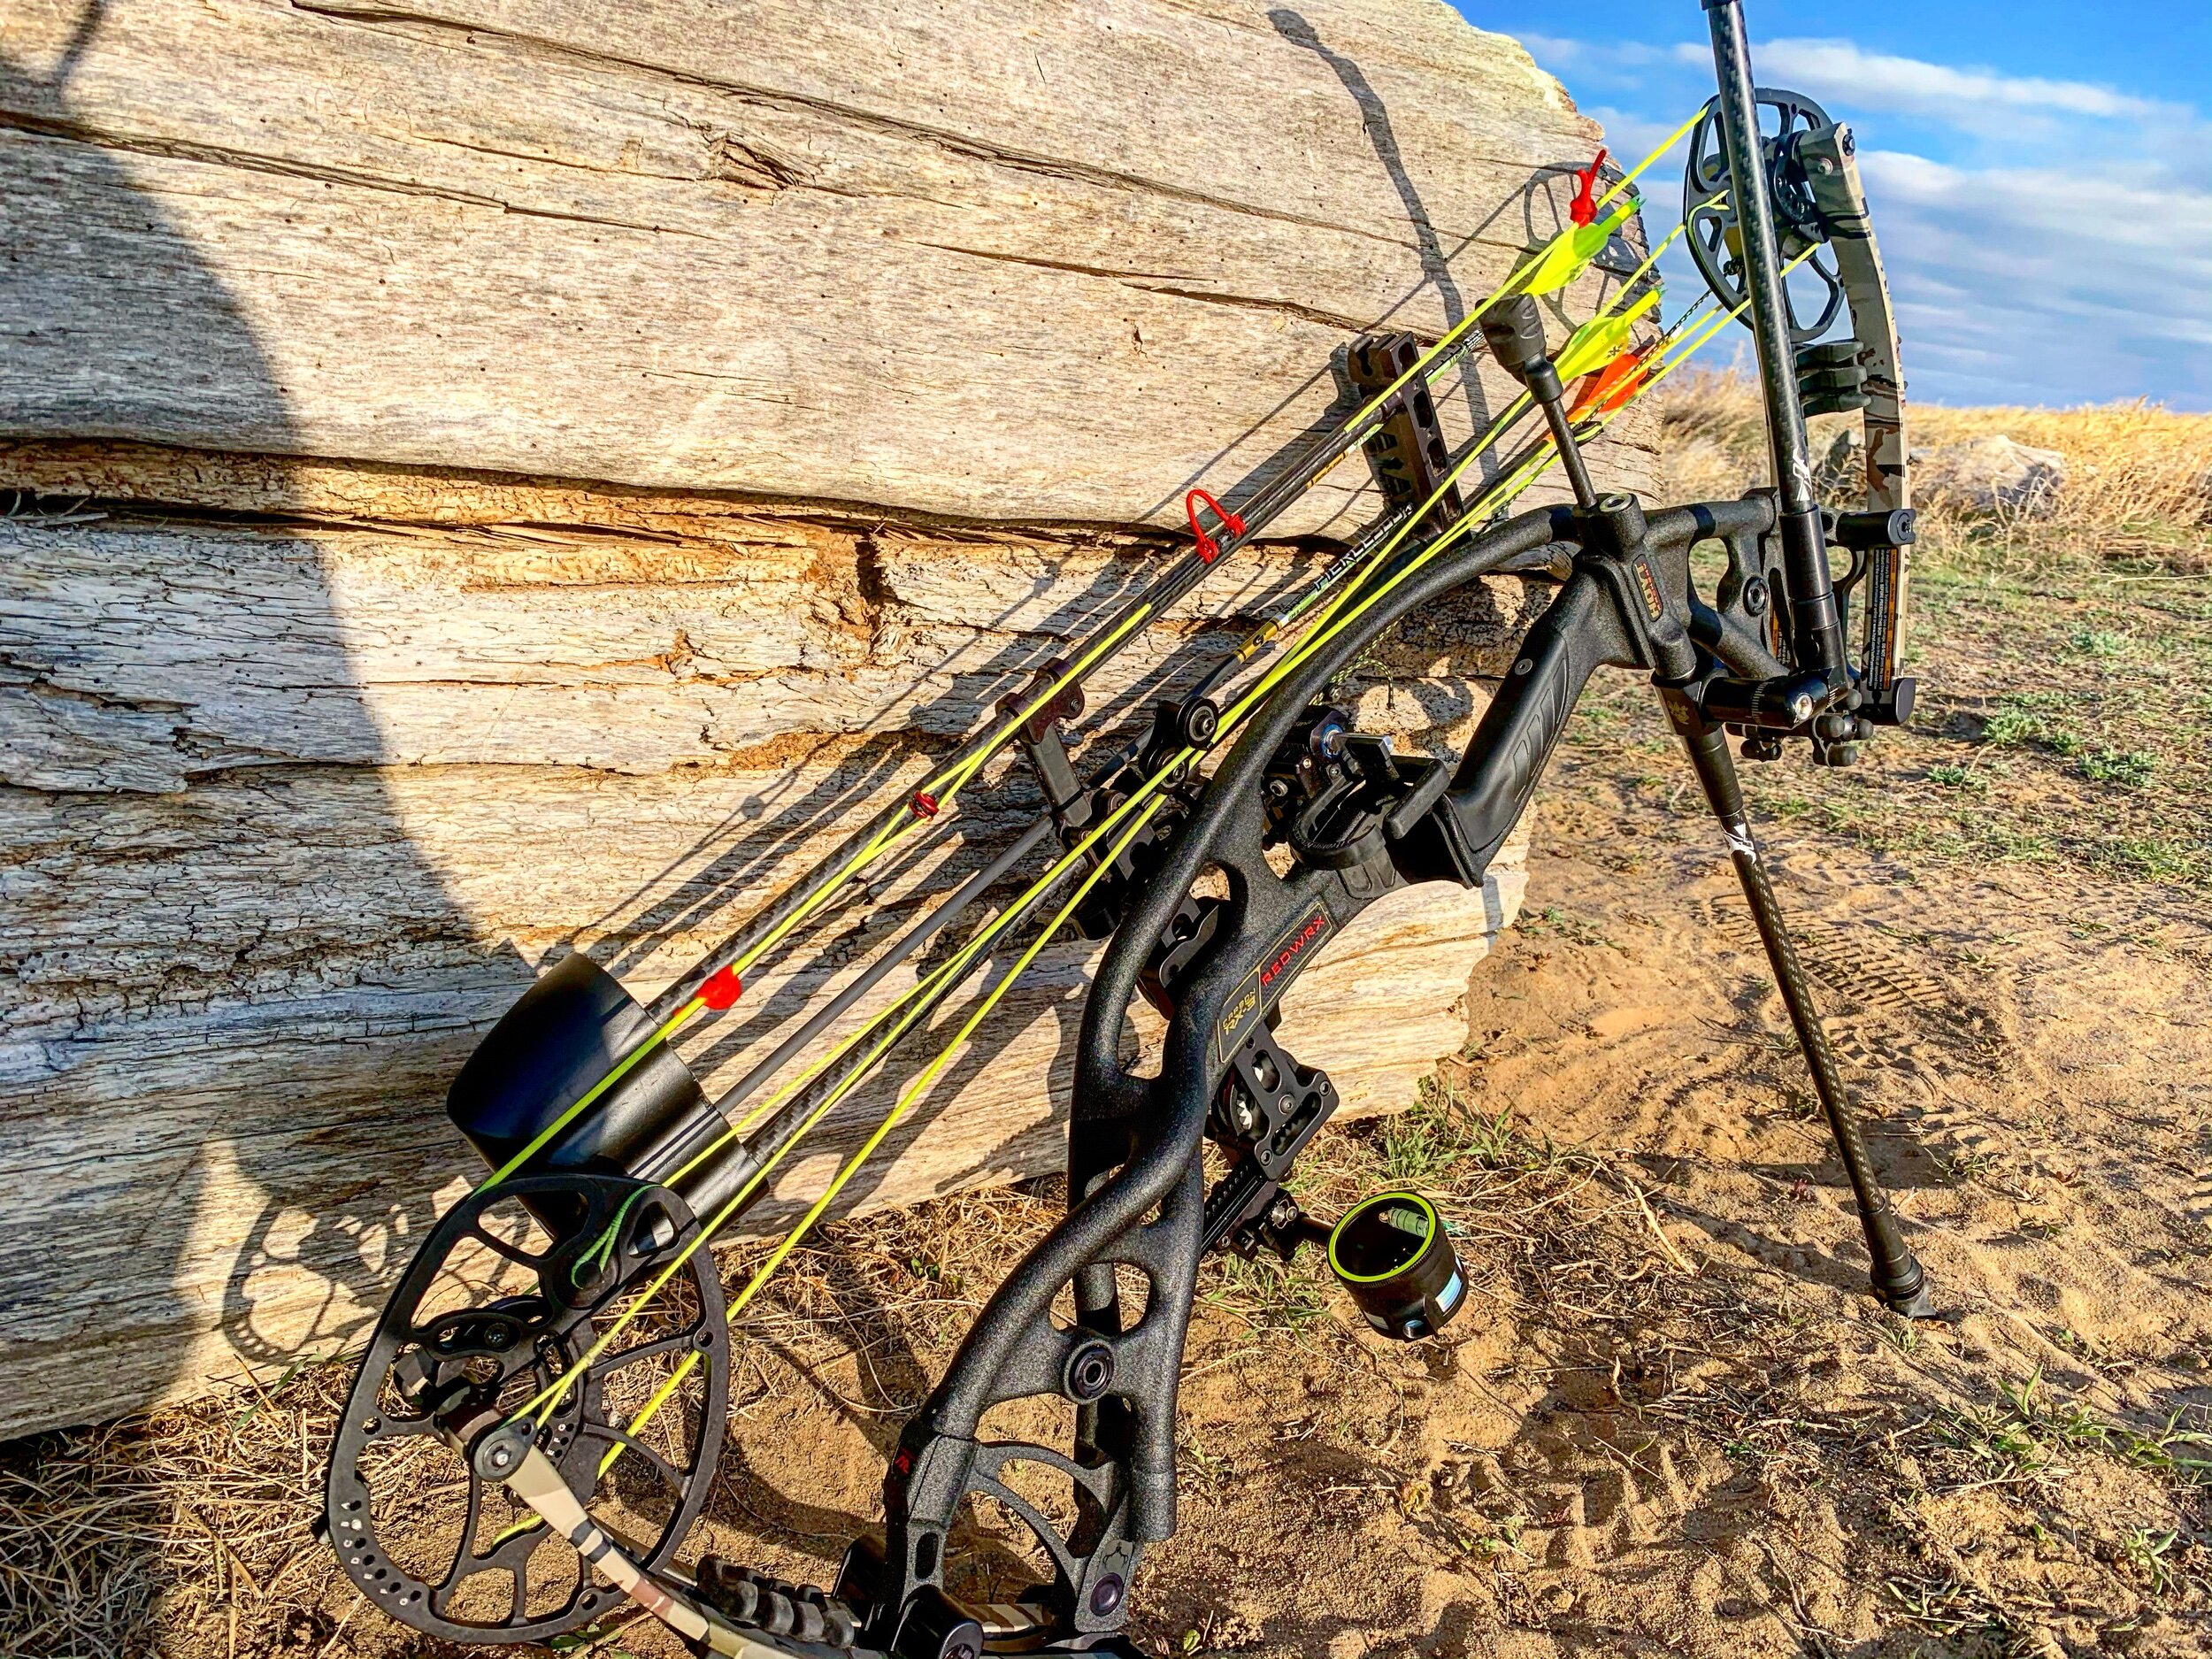
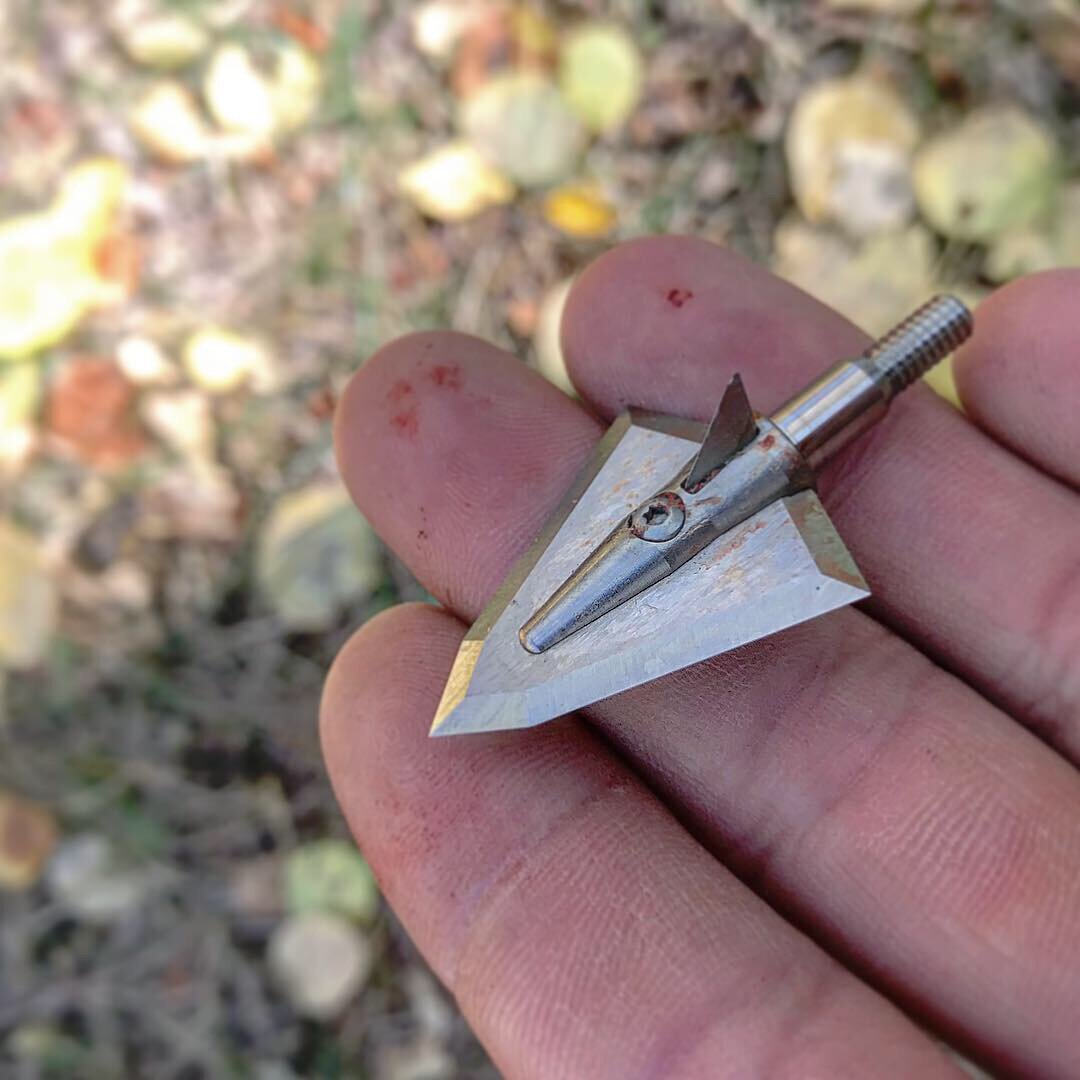
A bow setup is not something that can be chosen off the preferences of someone else, however there are characteristics that can carry over across all brands and models. I shoot a Hoyt bow because they are typically easy to tune and the carbon risers are great for colder conditions because they retain more warmth to the touch. They are also one of the few manufacturers that offer 80 pound limbs and with a short draw, (27.5”) and the desire to shoot a heavier arrow, the added speed helps. In my opinion, a bow with yokes is my preference for tuning because they are often easier to micro tune than a bow with cam shims. The sight and rest I have chosen have been decided through years of testing and watching lesser components fail. For a rest, I choose the Hamskea Hybrid Hunter Pro. It uses a sealed ball bearing for movement, is easy to set up and tune, and provides the accuracy and durability I desire. For a sight, I have settled on the Spot Hogg Fast Eddie Double Pin. It is a heavy sight, but the durability is unmatched by anything else out there. Last season I took a tumble down a steep mountain, falling directly on top of my sight, and unlike my pride, the sight was not harmed. The double pin provides an extremely clean and uncrowded sight picture while allowing for a functional and useable pin configuration for most hunting applications. My stabilizer setup is of course, made by Cutter Stabilizers. Up front I run a 12” Altitude Pro and out back I run the 10” Utility Pro. The micro diameter carbon rod paired with full internal vibration dampening and machined aluminum components make for the best hunting bow stabilizer out there. I also utilize a Bee Stinger Elite offset bracket. My quiver of choice is a Tight Spot 5 arrow. The adjustability, light weight, and lack of added vibration make the hefty price tag worth while. Arrow selection is one of the most debated conversations out there, but for my personal choices, yes CHOICES, I have settled on what I have found to work best for my setup and what has proved the most accurate and durable. My main arrow of choice is a Gold Tip Pierce, the micro diameter flies well in the wind and penetrates well behind a quality broadhead, which we will get into later. My second arrow of choice is an Easton Axis Match Grade. The 5mm diameter allows for a more stout connection point for front end components, which is why it is my elk arrow of choice. For both arrow systems I utilize an Ironwill impact collar, they improve arrow durability and provide impact protection for both 3D and hunting applications. On the Gold Tip arrows, I substitute the factory front end components for a Firenock Aero Outsert. The precision machining and quality provide perfect concentricity and allow for much better arrow tuning and broadhead flight. I utilize two broadheads throughout my hunting season, for a mechanical head (antelope and whitetail) I choose the G5 Deadmeat, they fly great at long range, and do not take a ton of kinetic energy to deploy. For a fixed blade (Elk and Mule Deer) I choose the Ironwill S125. They are by far the sharpest, most durable, and best flying broadhead I have ever shot. Two seasons ago I had one CUT through an elk rib and shoulder blade from 42 yards. Often bones will shatter or crack, however this broadhead sliced through the bone, providing a short, easy to follow blood trail.

My Ironwill S125 after passing through and elk rib and shoulder blade, still able to shave hair.

My Ironwill S125 after passing through and elk rib and shoulder blade, still able to shave hair.

Both arrows are fletched with Vanetec Super Spine vanes in a 4 fletch configuration. For mechanical heads and 3D applications I have found great flight with the 1.8” length, for fixed blades, the 2.3” are the winner for me. This year I have been testing the 3” vanes in a 3 fletch and have been pleased with the results. Release aids are one of my favorite pieces of gear to tinker and experiment with, however through my testing I have settled in on a few winners. For spring and summer training, I shoot a hinge in the Tru Ball Fulcrum Flex Quicksilver. It has a ton of adjustability, and fits my hand well. When hunting season comes around I switch over to a Scott Pursuit thumb trigger release. The trigger is heavy enough to achieve a good back tension release and it can also be attached to a wrist strap for hunting.

A sturdy tripod is a great way to exponentially improve your optic system.

A sturdy tripod is a great way to exponentially improve your optic system.

Optics are a great piece of gear to spend some good money on. High quality glass will make you much more effective in glassing. Brands are pretty subjective, but a good rule of thumb is that you truly get what you pay for. I have chosen to run Vortex glass for most every optic in my system. My binoculars are the Razor HD 10x42s, the quality is great for the under $1200 price point and for me, they fit my needs. They live inside a Badlands Bino XD harness, which also carries my rangefinder and a small assortment of survival gear. The Ranger 1800 rangefinder has great range acquisition speed, and is accurate, while having good battery life and waterproof construction. My spotting scope is one of the few optics that I have from another manufacturer, that being Alpen, a company no longer in business. It cost me all of $110 through a pro deal and at that price point and with my frequency of use, it is perfect, all with glass quality that competes with optics up to the $500 price point. Unfortunately with them going out of business, their warranty no longer exists, so the shopping is back on for a new spotter. This past season I also purchased a pair of 15x56 Vulture HD binos and I am now a believer in 15 power binoculars being far more effective for long range glassing that a spotting scope. However at $500, the glass quality left something to be desired. The Khaibab 18x56 will be my go-to “big glass for this coming season. The optic quality and low light clarity are exceptional for the price point. For western hunting applications when glassing for hours at a time is often the best way to turn up game, a sturdy tripod is a vital piece of gear. Running a quality pair of 10 power binos off a tripod is sometimes better than a spotting scope. I run two different tripods for two different applications. For the backcountry, I choose the Vanguard VEO 2GO 204CB. It is a carbon tripod with an integrated ball head that weighs in at 1.5lbs and is built incredibly well. This tripod is also very easy and fast to set up, which is why I leave my iPhone mounted on it when still hunting, in the instance that a shot opportunity presents itself. For applications such as pronghorn or open country hunting where the wind is typically howling and I often find myself glassing while standing, I choose the Vanguard ESPOD CX203AP. With a weight around 2.25 pounds, it is still sturdy enough to be steady in strong winds along with being a taller tripod.

IMG_2718.jpeg

Camping/backpacking gear is obviously only needed if you plan on hunting from a remote camp away from your vehicle, which I do for the majority of my mule deer season. Regardless if you choose to take on the backcountry or not, a quality pack is a necessity for western hunting. I have chosen to go with the Eberlestock Little Big Top paired with the F1 Mainframe. The bag can be ran with or without the frame and carries weight up to 60 pounds comfortably. Once the frame is attached, loads over 100 pounds are very manageable. With an empty weight of nearly nine pounds, there is a little to be desired, but the load carrying capabilities make it worth every ounce. The Little Big Top is a bit large for simple day hunts, so for this season I decided to test out the Slumberjack Hone daypack. It offers a lot of organization pockets, a lightweight internal frame and can carry around 50 pounds without issue. Field use is still to be decided since summer scouting season has not yet arrived, but I am optimistic on that pack’s capabilities. For a sleep and shelter system I have two main kits, for overnight and quick trips I found a non-freestanding tent made by Andake and sold on Amazon. It weighs 1.2 lbs and is built well. Paired with a Tyvek ground cloth, the durability is adequate for mountain hunting applications. For multi day trips including hunts with potential foul weather, I choose a Kelty Grand Mesa 2 person. The additional space allows room to relax if I find myself confined to the tent due to poor weather. At 4.5 pounds however, it is a touch heavy. My sleeping bag is a Marmot Helium 15 degree bag. With a weight of 2 pounds 3 ounces, and a compressed size slightly larger than a big Nalgene bottle, it cannot be beat. The 15 degree temp rating is often overkill for early season and summer trips though, but using it as a “quilt” and leaving it unzipped is comfortable enough. My sleeping pad is a Thermarest Pro Lite Plus. At 1 pound 12 ounces, it is heavy, but the thickness and insulation provide a good night’s sleep. For water purification I use a Platypus Gravity Works system. It is just over a pound so the weight is heavier than other systems, but the ease of use and convenience of not needing to pump water is unrivaled. My stove is the Optimus Crux Weekend, it allows me to boil plenty of water for coffee and dehydrated meals while remaining efficient on fuel.

Set up with Kelty Aluminum trekking poles, this solo tent is perfect for quick trips into the backcountry.

Set up with Kelty Aluminum trekking poles, this solo tent is perfect for quick trips into the backcountry.

All of the gear listed within this article is of course my personal preference that I have tested and decided on based on my results. Some of the items are new this year, but most have been chosen based on years of experience. On average, I hunt around 55 days per year and with that much time afield, I cannot risk a failure. The gear I have chosen over my hunting and archery journey may provide a starting point for your personal journey, but I would highly recommend doing your own testing where you can to determine what is best for you. Now is the time to dive into your gear and find what works and what does not. Hunting season is right around the corner and knowing your gear is dialed now will provide you with confidence come opening day.

Release Aids: 101

Adjustments.jpeg

Brand new bow, new sight, new rest, and a fresh dozen arrows sit on the counter in front of you at the archery shop. Tuned to perfection, ready to drop archery bombs, but there’s one thing missing: a quality release aid. For the last ten seasons you have relied on ol’ faithful, an index finger release from the early 2000’s. Accuracy with your old bow was consistent, but seemed to plateau lately. Release aids have come a long way in the past few years, crisper triggers, more adjustability, and increased comfort. With the surge in popularity of 3d archery, a large number of bow hunters are seeing the benefits of utilizing more and more equipment from the target world. With that, more than just the index finger, wrist strap style are now hitting the woods. In the following paragraphs we will showcase the four primary styles of releases along with their unique benefits.

The index finger, or wrist strap release is by far the most used style of release. With an easy crossover from the trigger position a lot of us grew up learning on small bore rifles as kids, it’s a comfortable place to start. Keeping the release ready for action in a hunting scenario is simple because it’s right there on your wrist. This style of release aid often gets a bad rap for causing target panic, or shot anticipation, and for good reason! The majority of archers who shoot this style of release are doing so incorrectly. The tip of our index finger is one of the most nerve receptor dense places on our entire body, so often it becomes linked, touching the trigger makes the shot break. The result can be catastrophic for accuracy and you may find yourself “locked off target” or holding low or high, then dipping your pin into the center and hammering that trigger. By removing the fingertip from the equation, you are greatly improving your ability to execute a surprise shot, which is what we always are striving for. To set up an index release correctly, the trigger should be inside your first knuckle of your index finger, creating a deep hook. In order to do that, the trigger sensitivity should not be so hot that you are afraid to apply slight pressure. Once your “hook” is formed, begin driving the rear elbow back and expanding through the chest to allow back tension to cause the shot to break. By simply decreasing trigger sensitivity and shortening the neck of the release, you can greatly improve your accuracy and consistency with a wrist strap style release aid.

A deep “hook” around the trigger

A deep “hook” around the trigger

The next most popular release aid style for a hunting application is a handheld thumb activated release. By eliminating the sensitivity issues associated with the index finger, archers often find their shot sequence remains clean and uninterrupted by shot anticipation. A handheld release in general will change the anchor point of the shooter since the hand will be flipped upwards. By placing your jaw bone in the gap between index and middle finger created by the release aid, a more consistent and repeatable anchor point may be established. It is still possible to “punch” a thumb activated trigger, and often the results of a punched shot are worse than with an index trigger! It is for this reason that proper setup and execution are utilized. There are several ways to adjust a quality handheld thumb release to fit the hand of the shooter, but for this instance, I’d like to highlight what has worked for me. Moving the barrel forward as far as possible and placing the peg or trigger in the middle of my thumb pad, I then make contact with my index finger. By holding this position throughout the shot and pulling with the rear elbow while expanding, I am able to utilize back tension to get a surprise break. One of the downsides of a handheld release is the possibility of dropping it or losing it while hunting. For this reason, I choose one that can be connected to a wrist strap or paracord strap. It ensures the release is there for me whenever a shot may present itself. For whitetail hunting, most thumb activated releases can be clipped on the string once in the tree stand. The only negative of that is how cold a metal release can get in mid November if you aren’t wearing gloves! I keep mine inside a hand warmer muff along with my bare hands.

Contacting the index finger with the thumb

Contacting the index finger with the thumb

The next two styles of release aids often get interchangeably called “back tension” releases. Within this umbrella title are the hinge style release and the tension activated release. The hinge is activated by movement of the shooter’s hand, where the tension release is activated by pulling against the string of the bow. It is not out of the question to hunt with these styles of releases, and as a matter of fact I know a lot of people that do! Let’s take a look at the hinge first.
The hook of a hinge release slides along a “half moon” shaped steel piece when, once reaching the edge, it falls off thus opening and firing the shot. To draw the bow back, the release must be tilted forward and pressure must only be on the index finger and thumb. Once at full draw, the thumb is removed and pressure is slowly shifted from index to middle finger, rotating the release and allowing the hook to slide off the edge of the half moon. The benefit of shooting a hinge is that your shot process needs to remain coherent enough to rotate the hand while allowing the pin to float resulting in a slower, more controlled, and often smoother shot execution to occur. The downside, is of course if you forget to rotate the hand and focus too much on aiming, the shot will not go off. This can be frustrating, but in the end, it really forces you to focus on your execution rather than your pin.

Drawing back, keeping pressure on thumb and index finger only.

Drawing back, keeping pressure on thumb and index finger only.

Transferring pressure to middle finger and rotating the release in hand.

Transferring pressure to middle finger and rotating the release in hand.

Tension activated releases, such as the Carter Silverback sold by Nock On Archery, have exploded in popularity in recent years. A true surprise shot is almost guaranteed, and executing a clean break is nearly automatic. The shot is fired by pulling against an internal spring set to slightly more tension than the holding weight of the bow at full draw. A safety is engaged while drawing the bow back, then released once anchor is established. In order to get the most from a tension release, a few things need to happen; consistent pressure needs to be kept on the back wall at full draw, and front shoulder position needs to remain the same. If either of those two things change, it can feel substantially easier or more difficult to make the release fire. It is for this reason that a tension release is a great training tool. There are plenty of people who hunt with them, and if you practice generously in the months preceding season, you can find hunting success with a tension release as well.

Disengaging the safety once at anchor and beginning to pull.

Disengaging the safety once at anchor and beginning to pull.

With all of the hundreds of release options available to the archer, it can seem to be a daunting task to choose one. Find yourself a good pro shop that will allow you to try several and find which feels the best in your hand. The ergonomics of a release make all the difference in the shootability for that particular person. A great way to learn a new release is to get some paracord that matches your draw length and tie a d-loop on the end. This will allow you to practice without worry of shooting a bad arrow. If picking up a hinge release in particular, use the practice rope for at lease a few days before even attempting to draw back your bow. It is possible to punch yourself in the mouth if you do not draw back correctly, and nobody likes getting punched in the mouth.

Experimentation and personalization are two of the aspects of archery we all love, and having a high quality release is paramount to getting the most accuracy out of your bow. You wouldn’t want a gritty, 12 lb, mil-spec ar-15 trigger in your custom built, long range, precision rifle, would you? Good releases are not cheap, and cheap releases aren’t… well, you get the idea. Shoot straight!