Over the years I have heard and seen a plethora of interesting, funny, and downright sad instances where someone simply could not get their broadheads to hit with their field points. Managing the archery department in a box store, the number of hunters that come in on August 1st after losing or burying a broadhead in the dirt is often overwhelming. Rather than simply accounting for the lack of education and misinformation, I would like to address the core problem, that of course being bow tuning for broadhead flight.
I can think of dozens of examples just from this year where hunters have come in, asked for my advice, and then blatantly ignored it. A recent example being a gentleman with a 28” draw length, shooting 52 pounds, and hunting elk, he wanted to know which mechanical broadhead would be best. Oh boy, here we go. First we need to understand something called kinetic energy, particularly in applications where poundage or draw length is low. Without fully going back to physics class, KE is the force applied on impact by taking the mass and velocity into account. Something heavier moving slower will impact harder than something lighter moving faster. Think about getting hit in the face with a ping pong ball going 50mph versus getting hit in the face with a bowling ball going 10mph. The other side of the coin is momentum, or mass multiplied by its velocity. Something heavier takes longer to slow down versus something lighter going the same speed, ie motorcycle going 80mph versus a semi going 80mph.
A heavier arrow will carry higher KE and momentum, it is for this reason that whenever possible, a hunter should capitalize on building an arrow to the heaviest possible configuration without falling below the “sweet spot” of arrow speed, more on that later. Whenever bow poundage or speed are low, it is crucial that the archer utilize a few key ideologies when approaching an arrow build.
Mechanical broadheads require kinetic energy to open up, so if you do not have a lot to begin with, you are severely limiting the arrow’s penetrating potential. A quality cut on contact fixed blade head is the way to go here. The amount of force required to cut through a big game animal’s hide can be more that 10x greater when using a mechanical head! The main objective we strive for is to provide a fast, ethical death to the animals we hunt, and by using the proper equipment for the task we are greatly increasing the likelihood of that happening.
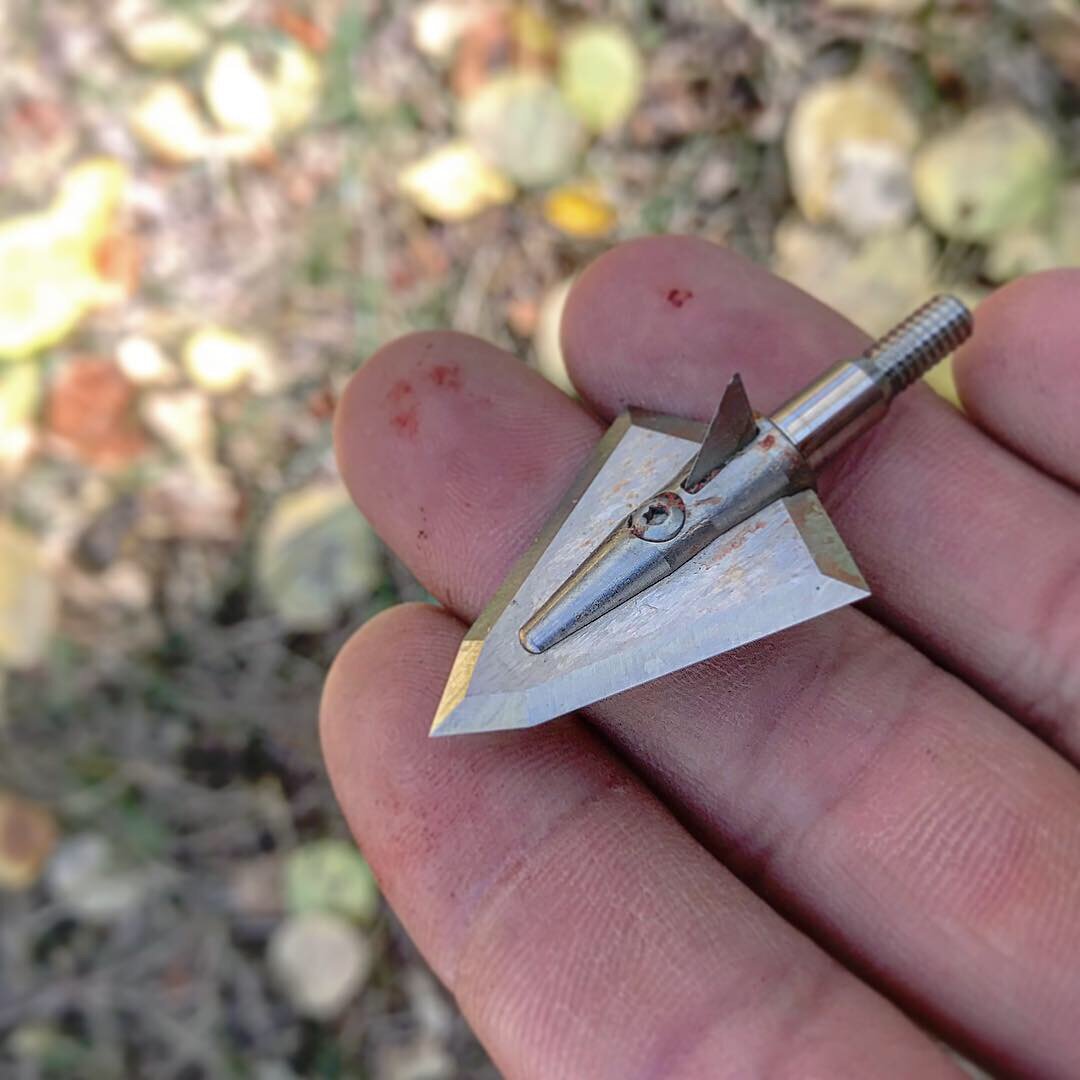
An Ironwill S125 after passing through an elk rib and shoulder blade.
Now that we have thoroughly dove down a rabbit hole, we can get back to our 28” 52lb gentleman. He refused to shoot a fixed blade broadhead because “when he shot them, they wouldn’t even hit the target when his field points were flying perfect.” Without going on another wild tangent, let’s try to cover basic bow tuning in a single paragraph. Hold on tight, this is going to be really fast.
There are a few non-negotiables when it comes to bow tuning: the axle to axle and brace height measurement must be to what the manufacturer designed the bow to be. The cams must be in time, or in other words, the draw stops must hit at the same time, or very close (1/16”) to it. The rest should be set within 1/16” of center shot, which means the center of the arrow should be somewhere around 13/16” from the riser, and the bottom of the arrow shaft should run through the center to top 1/3 of the berger hole (rest bolt hole). The final non-negotiable is that the arrow must be of the proper spine (stiffness) for the bow. If all of these are correct, your bow should theoretically be tuned. There are several ways to check this tune. Paper tuning, or shooting an arrow through a sheet of paper at 2-7 yards, is the most common. 2 yards will show you any bow tuning issues, 7 yards will show you arrow issues. Bare shaft tuning, or shooting an unfletched arrow at 10-20 yards will essentially show you the same thing, on a more magnified scale. Without the vanes to stabilize the arrow, it is free to go where the bow, or your form (more on this later) tells it to. French or walk back tuning is another method that is less often used, but it is essentially using a vertical line on the target and adjusting the rest and sight to get the arrow to hit in the center.
In order to utilize any of the aforementioned tuning methods, you must first display sound mechanics and form. Just last week I had a customer bring in their bow to get it paper tuned. This particular customer was left handed and had a 29.5” draw length, so I let him shoot through paper. After about 15 arrows and inconsistent tears, I (a right handed, 27.5” draw shooter) grabbed the bow and shot a perfect bullet hole on my first arrow. I noticed the customer was griping the bow very tight as well as applying heavy facial pressure to the string, both will make it impossible to shoot a bullet hole through paper. I spent the next 10 minutes working with him on his grip and anchor point until he shot his own bullet hole.
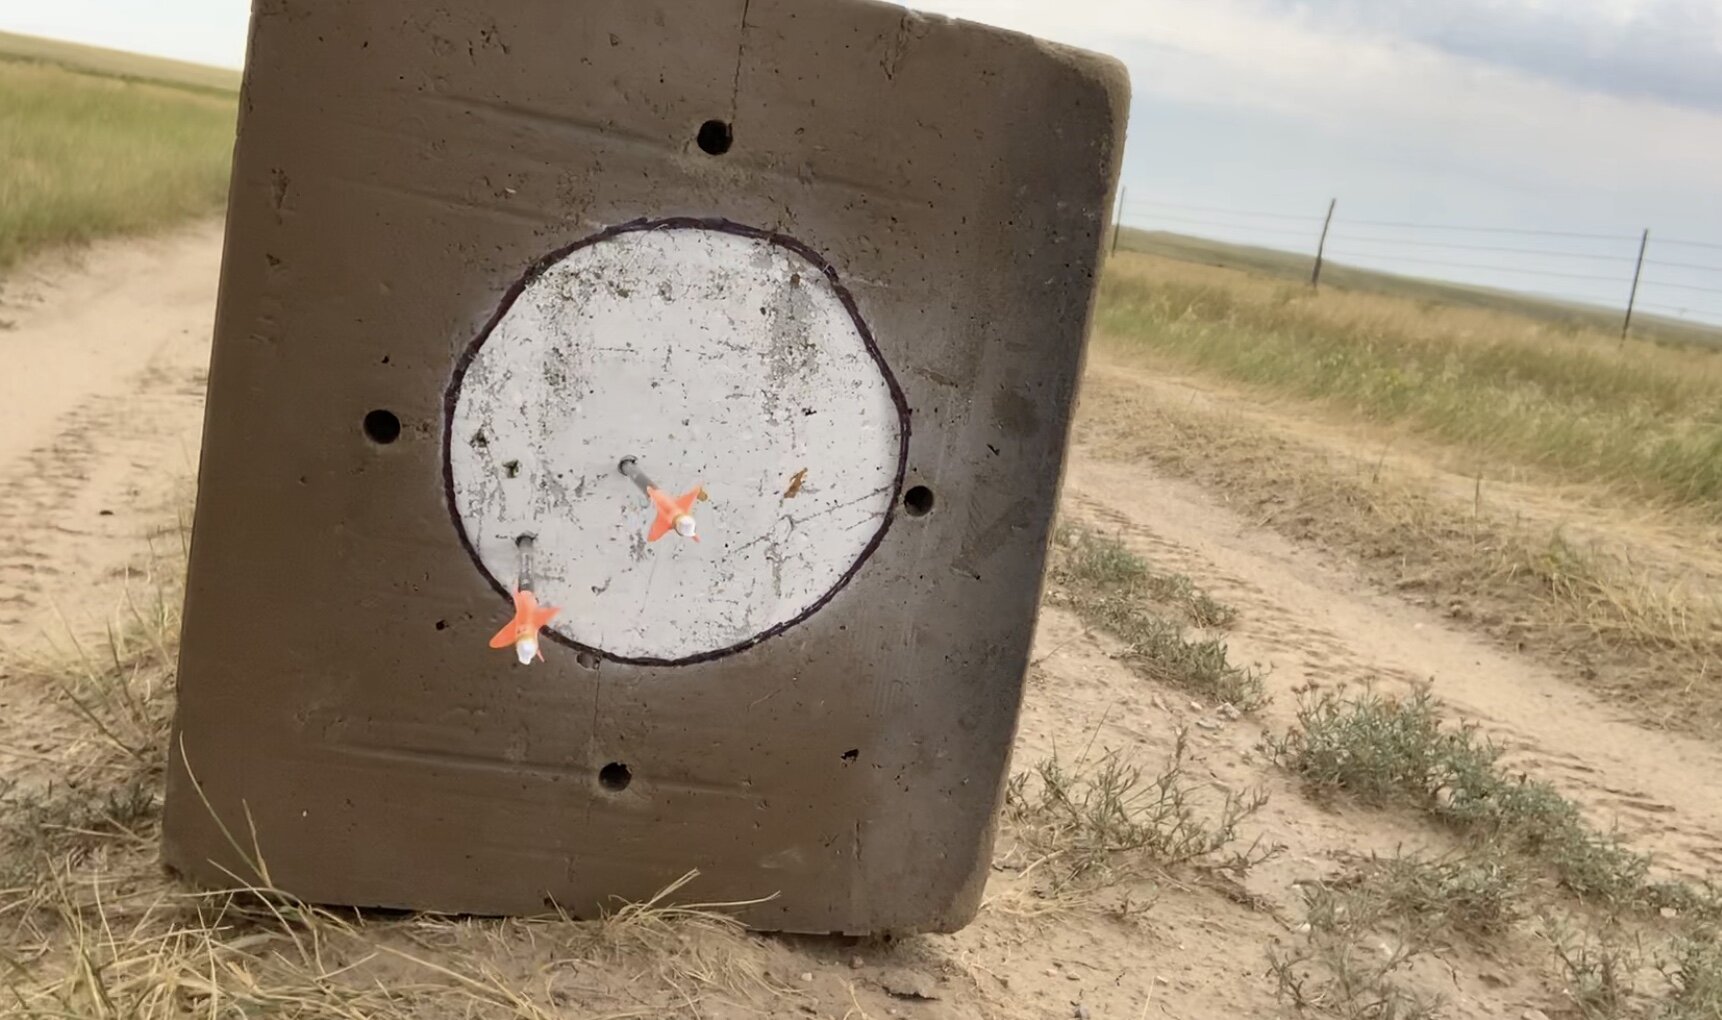
A 110 yard mechanical broadhead group
The debate on fixed blades and mechanicals is a hot one that will go on until the end of time. Both have their place, and both have their shortcomings. Arrow weight is another hot topic lately, and with a lot of people going the route of a heavier arrow, it begs the question: at what cost? There is an optimum arrow SPEED that I personally strive for when building any arrow setup, keep in mind I typically shoot 75-80lbs and have a 27.5” draw length. 270-280 feet per second is the “sweet spot” for me. At that speed, I can get my fixed blades to tune with ease and my arrow trajectory is flat enough for my liking. In order to get those speeds with my setup, my arrow ends up between 460-480 grains, with a FOC% between 15-18%. Quite honestly front of center percentage is not important to me, there are simply only so many ways to build an arrow that weighs a certain amount and adding point weight is the easiest. Whenever you add weight to the front of the arrow, it is going to weaken the spine, so keep that in mind if you want to increase your arrow weight. Shooting an improperly spined arrow will create a tuning nightmare, and in extreme cases, be unsafe to shoot. Consulting with your local pro shop and the spine chart provided by the arrow manufacturer is the best way to go.
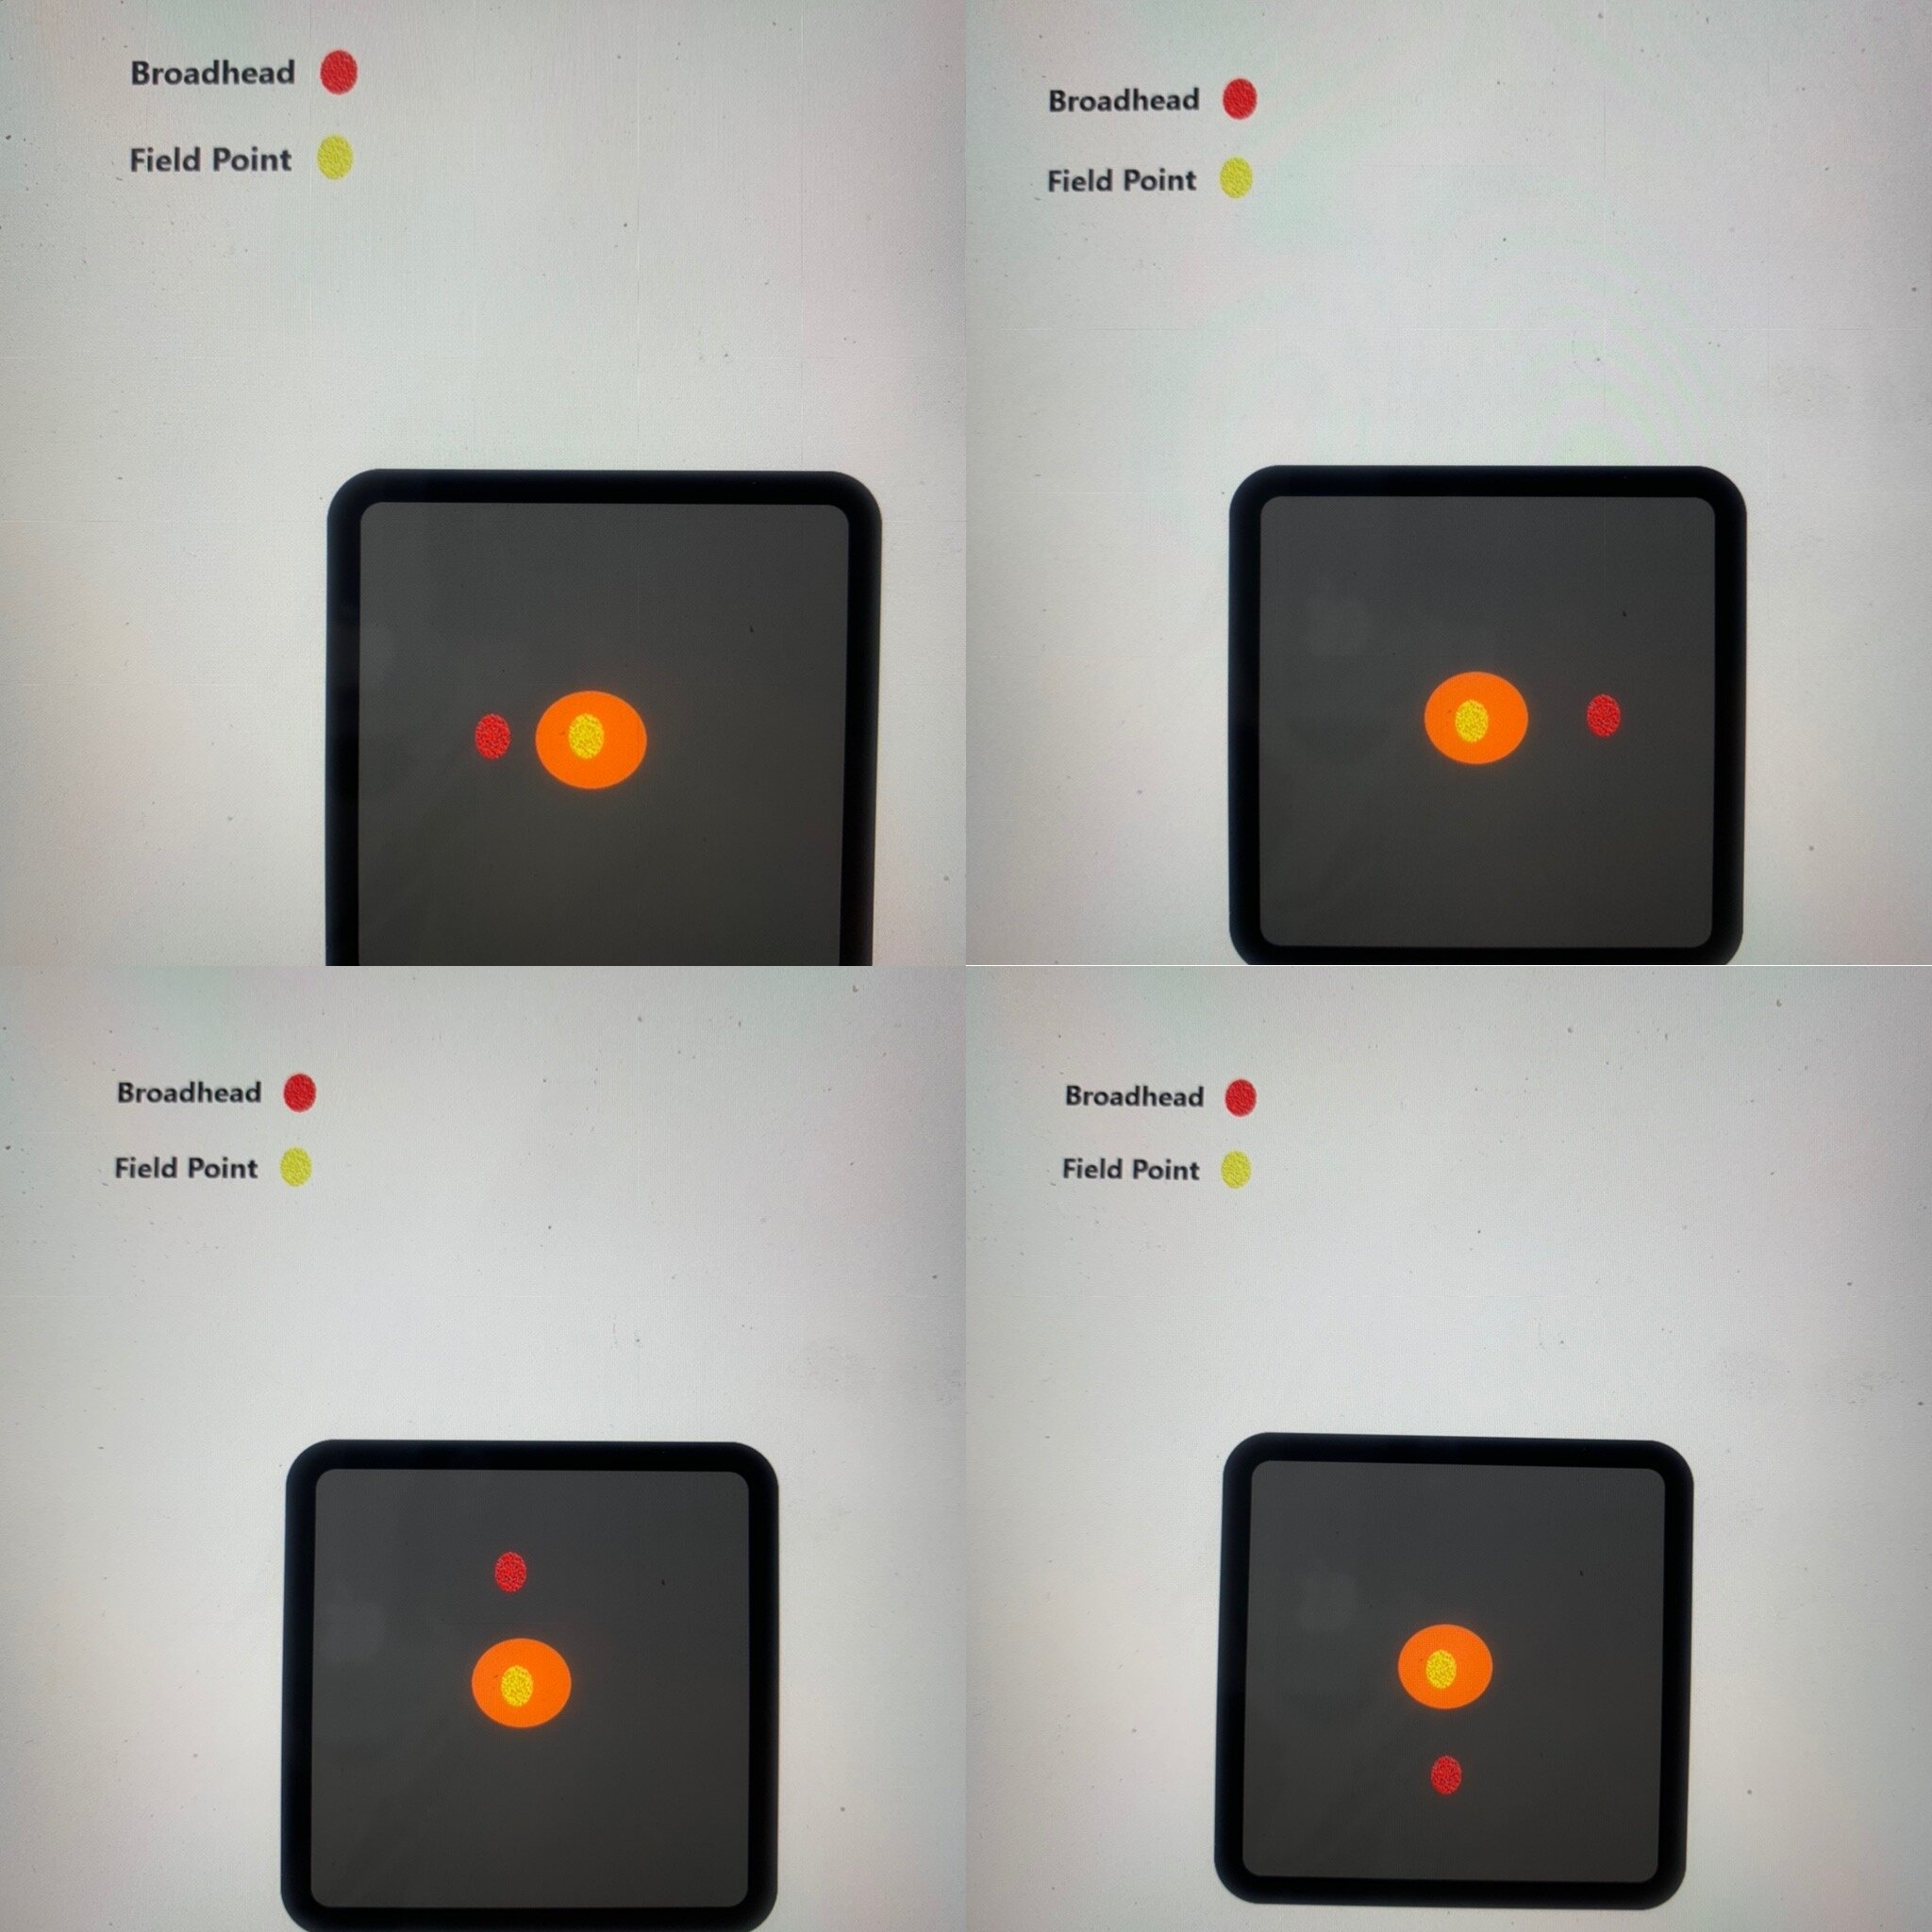
As we approach hunting season (my first hunt is in 11 days!), the time for testing is passed. Get your broadheads out, start shooting, and if you find that they do not hit where you expected, address the issue as fast as you can. Start at 20 yards so you have a lower chance of losing a broadhead, and always shoot your broadhead before your field point to avoid slicing your vanes off. If your broadhead hits left of your field tip, this is indicative of tail-right arrow flight. This is of course oposite for right impacts. You could try moving your rest the direction the broadhead needs to go, but only move it in 1/64” increments. If you find that you need to move your rest more than 1/16” in total, stop, and bring your bow to your local pro shop.
Different impact points between broadhead and field point. Broadhead left=tail right. Broadhead right=tail left. Broadhead low=tail high. Broadhead high=tail low.
Once you begin to grasp what is causing erratic arrow flight, it becomes easier to correct it. The “black magic” of broadhead tuning subsides and a logical, step by step process can be established. A great way to keep on top of your bow tune is to periodically shoot a broadhead throughout the year so you are never insufficiency prepared come hunting season. Always work on your form and fundamentals, and remember that your pro shop is there to help. Happy hunting!


